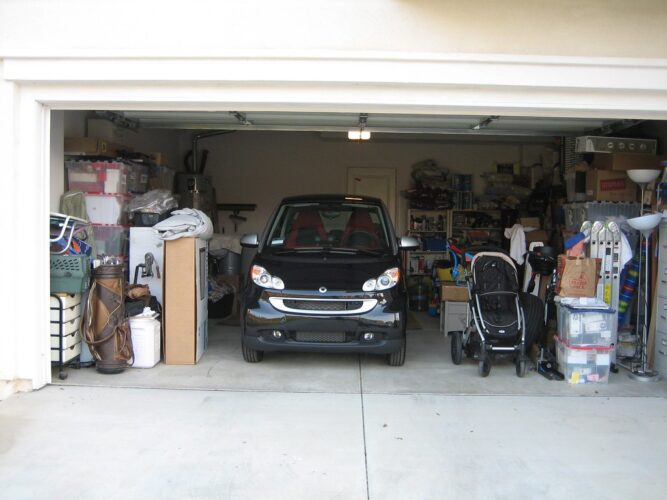
Skid marks, oil spills, and piles of clutter—these are all too common in garages. If you’re like most homeowners, your garage has probably become a catch-all space for everything from old sports gear to seasonal decorations.
But why should your garage be a dumping ground? Instead of resigning yourself to the mess, why not transform it into a functional and organised space? In this guide, we’ll walk you through a simple, step-by-step process to help you reclaim your garage and make the most of your space.
Step 1: Set Aside Time and Enlist Some Help
Cleaning out your garage isn’t a quick job—it requires time, effort, and commitment. Schedule a specific day or weekend to tackle the task. While you could attempt it on a whim, you might become overwhelmed or run out of time.
Having extra hands can make all the difference. Enlist family or friends to help, as they can make the job more manageable while also providing motivation and moral support.

Step 2: Get Rid of the Rubbish
Before you get into the nitty-gritty of organising, start by removing the obvious junk. Garages tend to accumulate a surprising amount of rubbish, from old newspapers and broken tools to unusable clutter. Even fallen leaves and dust can pile up over time.
Begin by discarding anything that is clearly rubbish, including damaged or unused items that have been sitting untouched for years.
Step 3: Sort Your Belongings into Categories
Avoid the temptation to throw everything into one big pile—it will only create more chaos. Instead, categorise your belongings into distinct groups, such as:
- Keep – Items you’ll use in the future.
- Donate – Items in good condition that you no longer need, such as clothing, toys, or appliances.
- Sell – Valuables that could fetch a decent price.
- Dispose/Recycle – Broken or unusable items that can’t be sold or donated.
For larger items, consider renting a storage unit. Storage facilities in Brighton and other UK locations often offer collection and delivery services, saving you time and effort.
Step 4: Start from the Ceiling and Work Down
With most of your garage emptied, it’s time to clean.
Many people instinctively start with the floor, but this can be counterproductive—dust and debris from the ceiling and walls will just fall onto your freshly cleaned surface. Instead, start at the top. Remove cobwebs, wipe down surfaces, and replace any dusty light fixtures.
When you get to the floor, sweep thoroughly and use a degreaser or all-purpose cleaner to tackle stains. For oil spills, sprinkle cat litter over the affected area, leave it for a few hours, then sweep it up.
Step 5: Clean and Inspect the Doors
Next, turn your attention to the garage doors. Remove cobwebs, dust, and dirt from door frames and tracks. If you have an automatic garage door, check and clean the sensors.
Most surfaces can be cleaned with a damp cloth and an all-purpose cleaner. For stubborn grime, use a degreaser. While cleaning, lubricate any moving parts and check for dents or damage that may need repair.
Step 6: Tackle the Walls and Windows
Scuff marks and stains on your walls can often be removed with a magic eraser or an all-purpose cleaner. Use a glass cleaner for windows, ensuring you clean both the inside and outside for a streak-free finish.
Take this opportunity to assess the condition of your walls and windows. Check for cracks, peeling paint, or water damage, and address any small issues before they worsen over time.
Step 7: Implement Smart Storage Solutions
Now that your garage is clean, think about how to maintain order with proper storage solutions. Utilise shelves, bins, and hooks to keep items off the floor and neatly stored.
- Use clear bins or labelled containers for easy identification.
- Install overhead racks or wall-mounted storage to maximise vertical space.
- Keep frequently used items easily accessible while storing seasonal items in less convenient spots.
Step 8: Organise Items by Function or Interest
Rather than randomly placing items back, organise them by category. Group similar items together, such as keeping all sports equipment in one area and gardening tools in another.
Store frequently used items within easy reach while placing seasonal or rarely used items in a designated storage section. There are no strict rules—find a system that works best for you.
Step 9: Maintain Regular Cleaning and Organisation
While experts recommend deep-cleaning your garage once or twice a year, a proactive approach will save time in the long run. Make it a habit to return items to their designated spots and regularly declutter.
If you use your garage as a workshop or store potentially hazardous materials, ensure you properly dispose of any unwanted items safely and responsibly.
Final Thoughts
Cleaning your garage doesn’t have to be an overwhelming task—it can even be therapeutic! By following these simple steps and maintaining regular organisation, you’ll not only create a functional and tidy space but also ensure a safer environment for yourself and your family.
So roll up your sleeves and start reclaiming your garage today!
