How To Clean an Oven Thoroughly: A Complete Guide To a Sparkling Clean Oven
Whether baking your favourite homemade chocolate chip cookies or roasting a turkey for Thanksgiving dinner, your oven is often where the magic happens in the kitchen. However, the oven is also one of the dirtiest places in your home, and that's no exaggeration.
So if you want to keep your kitchen clean and healthy, it's essential to know how to clean an oven properly. This article will give tips to keep your oven looking its best and smelling fresh.
If you're like most people, you probably only spend a little time thinking about cleaning an oven thoroughly. After all, it's just a dirty old oven. It doesn't have feelings.
But the truth is that your oven is more critical than you may realize. It's where your food comes out. Neglecting this vital part of your home can negatively impact how healthy food cooks and tastes.
And if you've ever had to eat something that didn't taste as good as it should because of an old crusty pizza stuck to the bottom of your oven, then you know how important it is for your oven to be clean and shiny.
But don't worry! We'll show you how to get that sparkly clean look without a sweat. With the proper knowledge and basic natural cleaning supplies, oven cleaning doesn't need to be an overwhelming chore, mentally or in reality.
And if you're busy with work or other important things, consider hiring a professional house cleaning in Melbourne to do the task for you.
Here is our complete guide on how to clean an oven thoroughly.
What You'll Need:
Instructions
1. Preheat the oven
Preheat the oven to 200 degrees Fahrenheit. This low enough temperature won't damage your oven's coating, but it will help loosen baked-on food and kill bacteria.
Do not use self-cleaning mode if you have a glass cooktop. Make sure not to put anything on top of it while you're preheating.
2. Take the oven racks out
After preheating the oven and letting it cool, remove the oven racks, preferably placing them on some old newspaper or towels, and set them away. You want to avoid contaminating your kitchen floor with the muck. Be careful in taking out any other items from the oven, including pans, pizza stones, or thermometers.
3. Mix up a baking soda paste
Now, it’s time to get started on the actual cleaning. First, mix up a cleaning solution.
In a small bowl or another container, combine an equal amount of baking soda and water to create a spreadable paste. You can start by mixing 1/2 cup of each cleaning ingredient. You can adjust the ratio of both ingredients and double the solution if you need more.
Make enough baking soda paste to thoroughly coat the internal surface of the oven since you will be coating the entire appliance with it.
Stir until all of the baking soda has dissolved into the water.
4. Coat your dirty oven
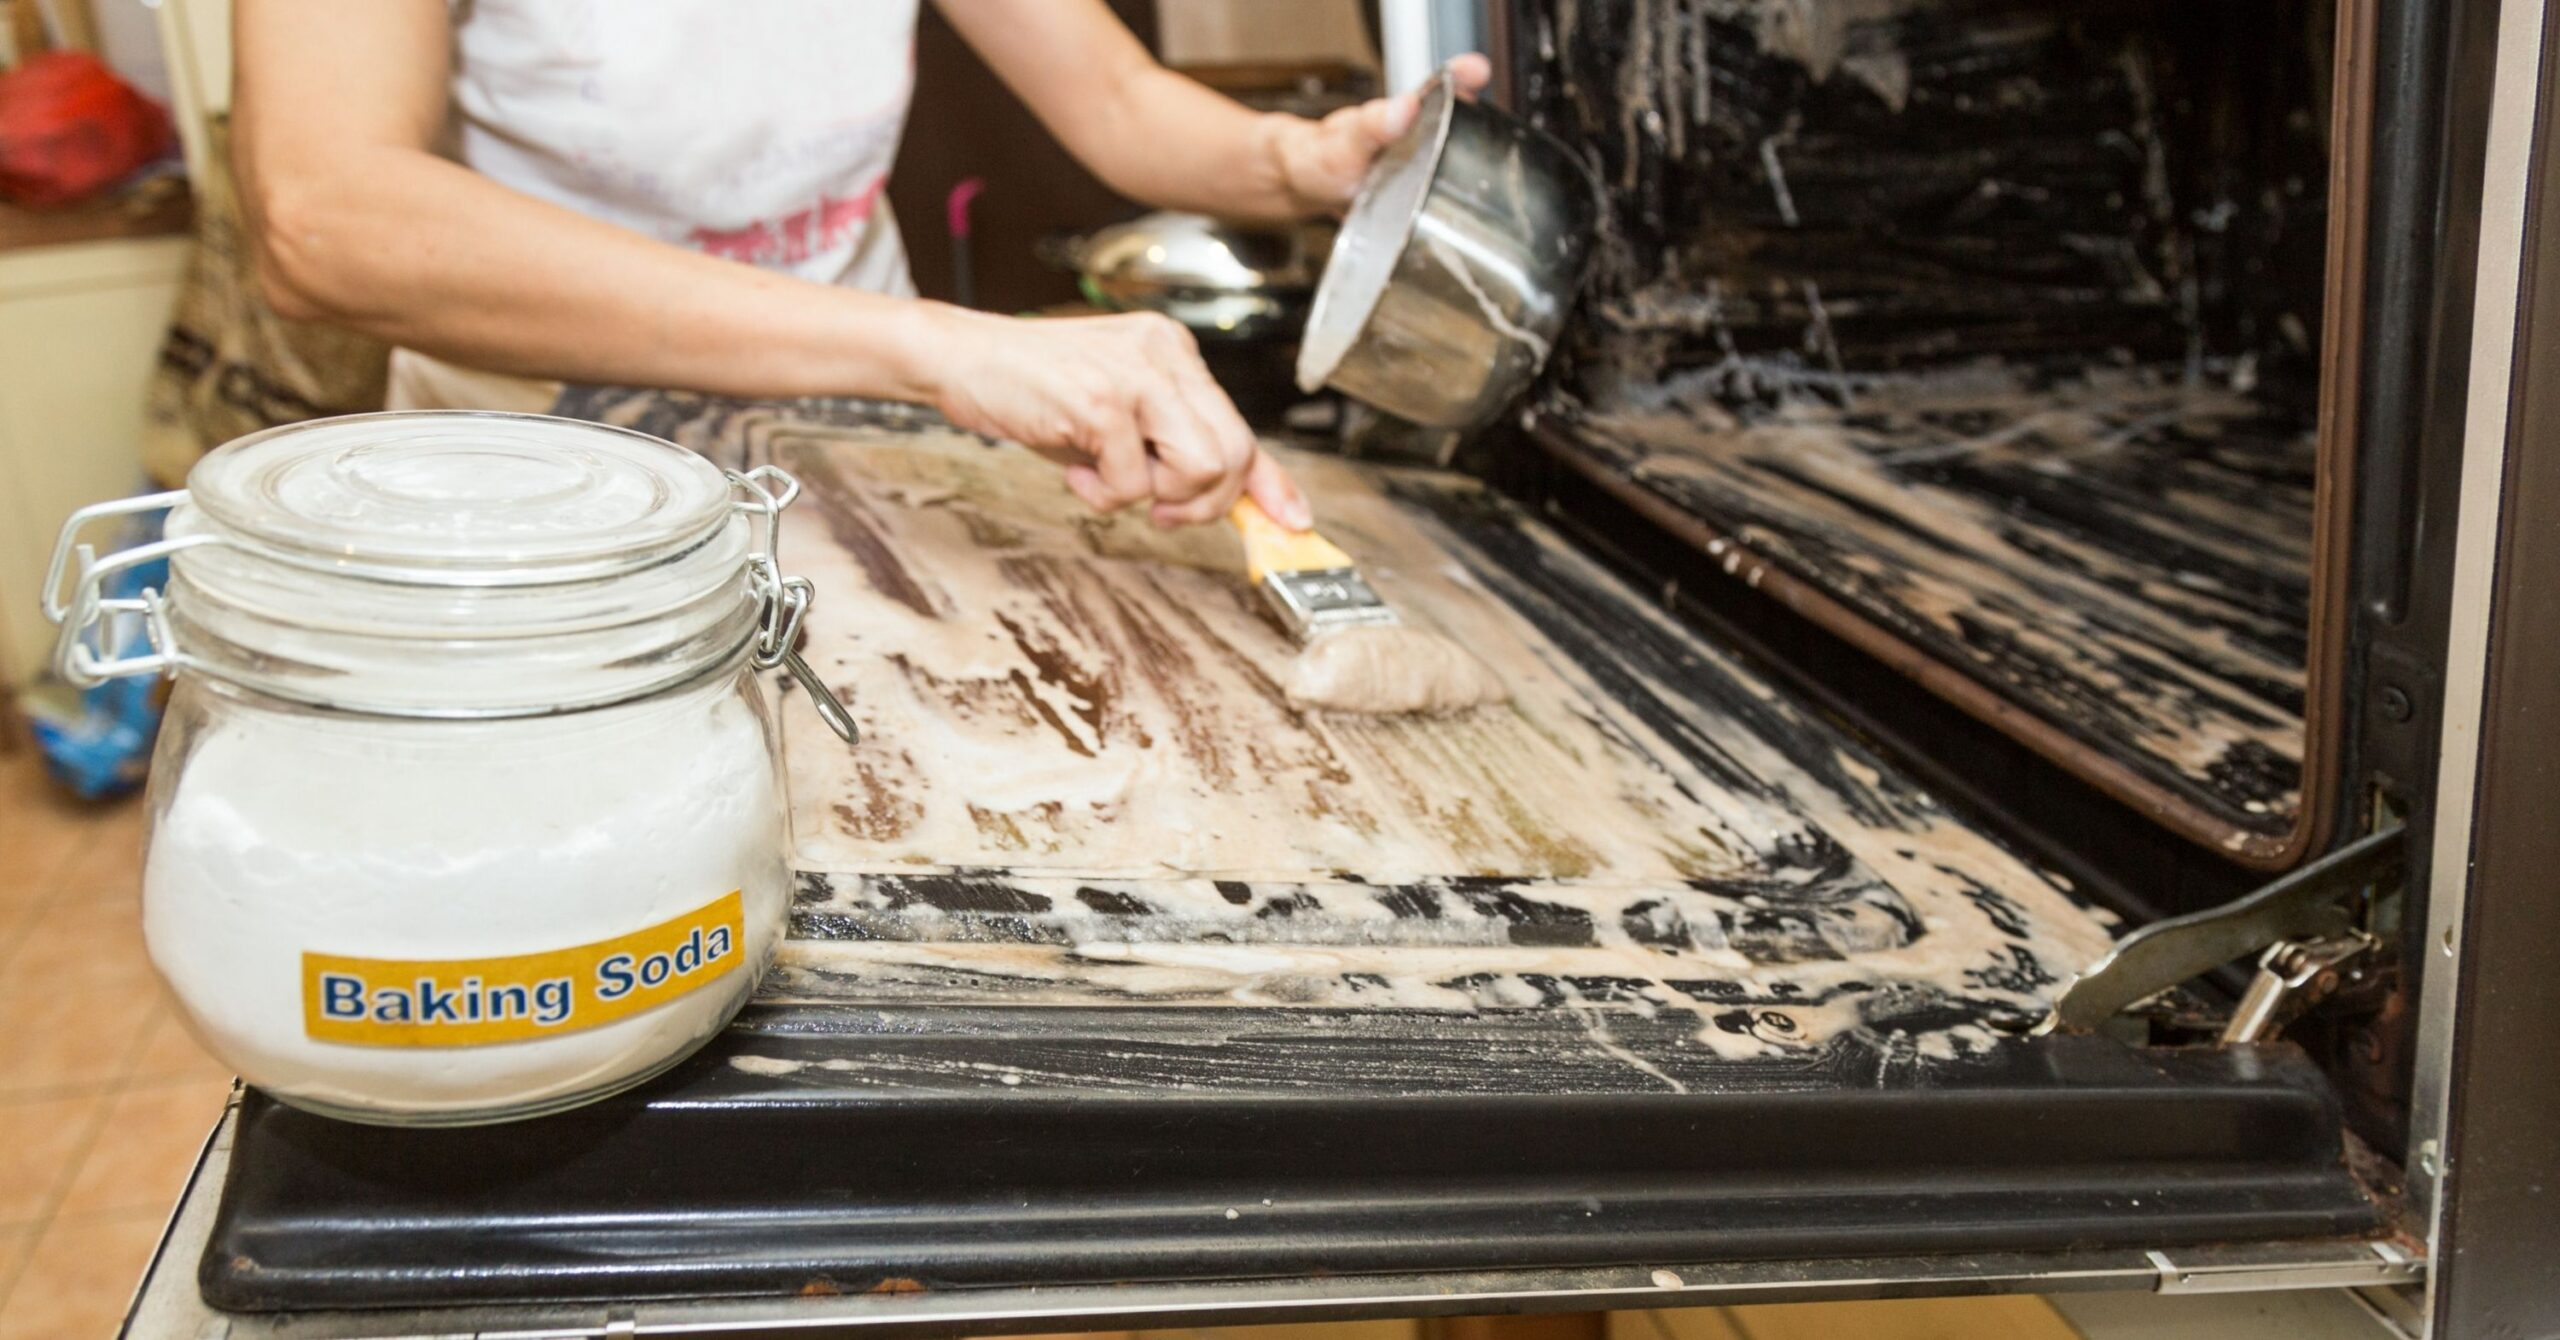
Spread the baking soda mixture evenly over the interior of the oven. The process is relatively dirty, so you should wear rubber gloves to shield your hands from the grime, which will go under your fingernails if you don't wear gloves.
As you apply the paste to the oven's internal surfaces, keep your distance from any heating elements. The baking soda will take on a brownish hue as soon as the paste touches the grease. Don't worry if the solution is denser in some places and covers any greasy spots.
Let the baking soda and water mixture rest inside the oven for at least 12 hours, or let it sit overnight after covering the entire oven's interior.
5. Clean your oven racks
Clean oven racks, shelves, runners, and other items in a bathtub or a large sink and soak them in hot water for no longer than an hour with washing powder sprinkled on the surfaces. An enzyme-based product is ideal since it will specifically attack grease and filth. Use gloves when doing this because some people are hypersensitive to powders based on enzymes.
If you're using a bathtub, put a piece of old clothing or a towel underneath to prevent scratches from the rack. The baked-on grime and food residue should be removed by running a sponge scourer along each runner.
Thoroughly rinse, then let air dry. The racks should be thoroughly dried because they risk rusting. To finish drying, you can put them back in the oven at 100°C for ten minutes.
6. Wipe the baking soda paste and spray vinegar
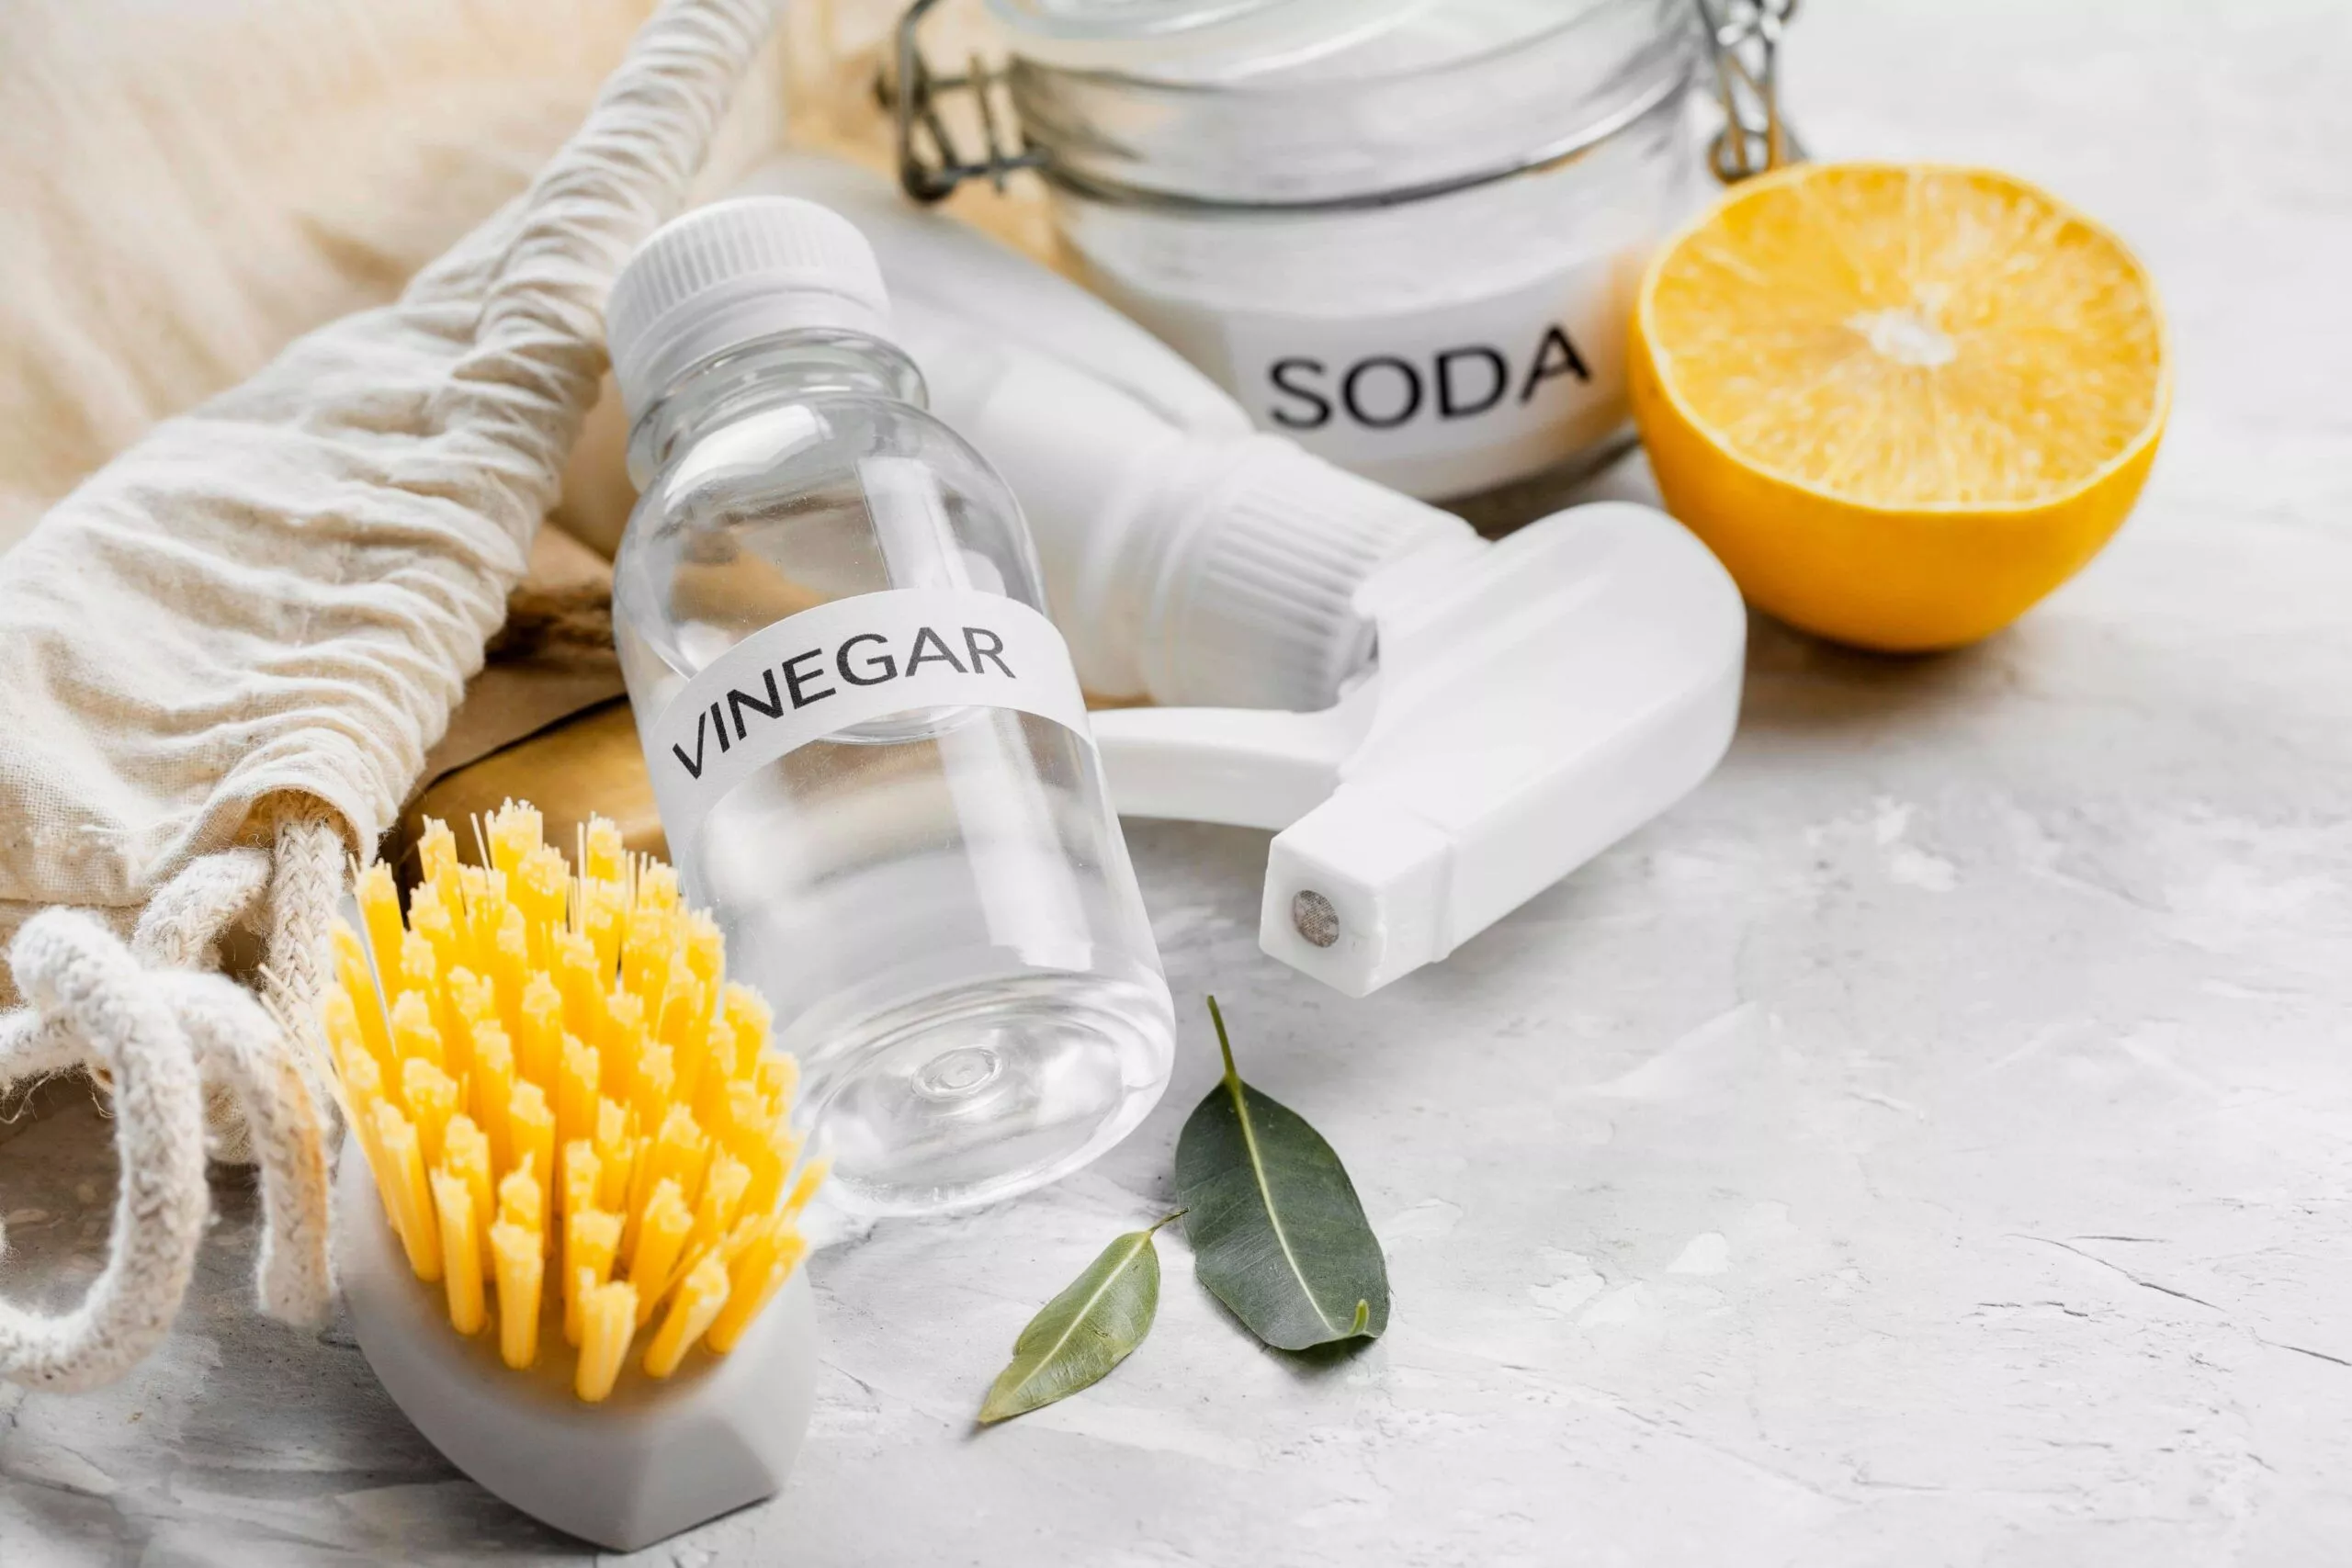
Use a damp cloth to remove the baking soda, warm water paste, and oven residues from the oven interior after 12 hours. When dealing with challenging locations, a spatula or scraper could be required if elbow grease isn't enough. Gently remove the residue to avoid scratching the surface. Scouring pads should be avoided since they may harm the oven.
Add white vinegar to a plastic spray bottle and spritz it all over the oven's interior. White vinegar is an excellent cleaning agent because it will cause any residual cleaning paste to foam up and loosen any extra sticky bits.
7. Clean the glass oven door
A clean oven interior will go unnoticed if the oven glass door is murky with grease.
Since glass is more prone to scratches than the oven's racks, the glass door needs to be handled with extra care. That entails avoiding abrasive cleaners and utilizing a softer scrubbing brush. You can also use a glass scraper for baked-on grease, but be sure to check your manual, as some manufacturers don't recommend this if there's a coating on the glass.
To clean the glass oven door, make another batch of cleaning paste and apply it to the window sills to clean the glass. Give it a good 30 minutes to sit. Then, use a paper towel or moist rag to remove the paste.
As an alternative, spray some oven cleaner or hot water and dishwashing detergent on the surface of the oven door. Use an ordinary glass cleaner to complete the task or some concentrated vinegar and a damp washcloth for added shine.
8. Wipe down oven doors and knobs
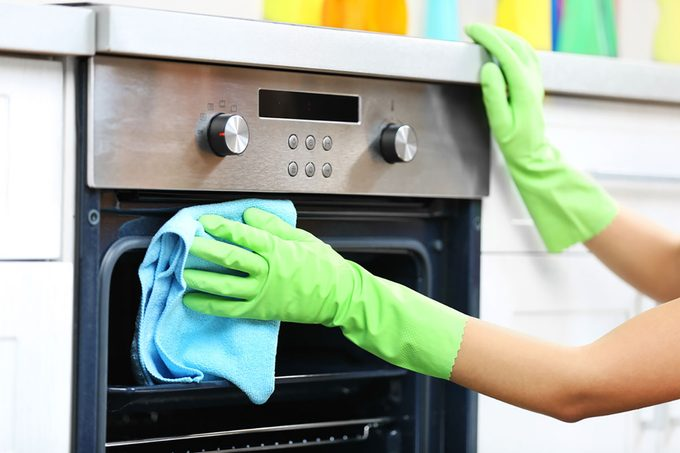
For the last step in the oven-cleaning procedure, give the oven door's exterior a thorough wipe-down. Use white vinegar and water in equal proportions to make a natural cleanser.
Use a spray bottle to clean the outside with a rag. If you spray it directly onto knobs and panels, you risk getting cleaner inside a control panel and short-circuiting it.
Gently scrub the exterior of the oven until smudges and streaks are gone. A stainless steel oven can be cleaned using a microfibre cloth.
Lastly, replace your oven's racks and any other items you keep there, and you're done!
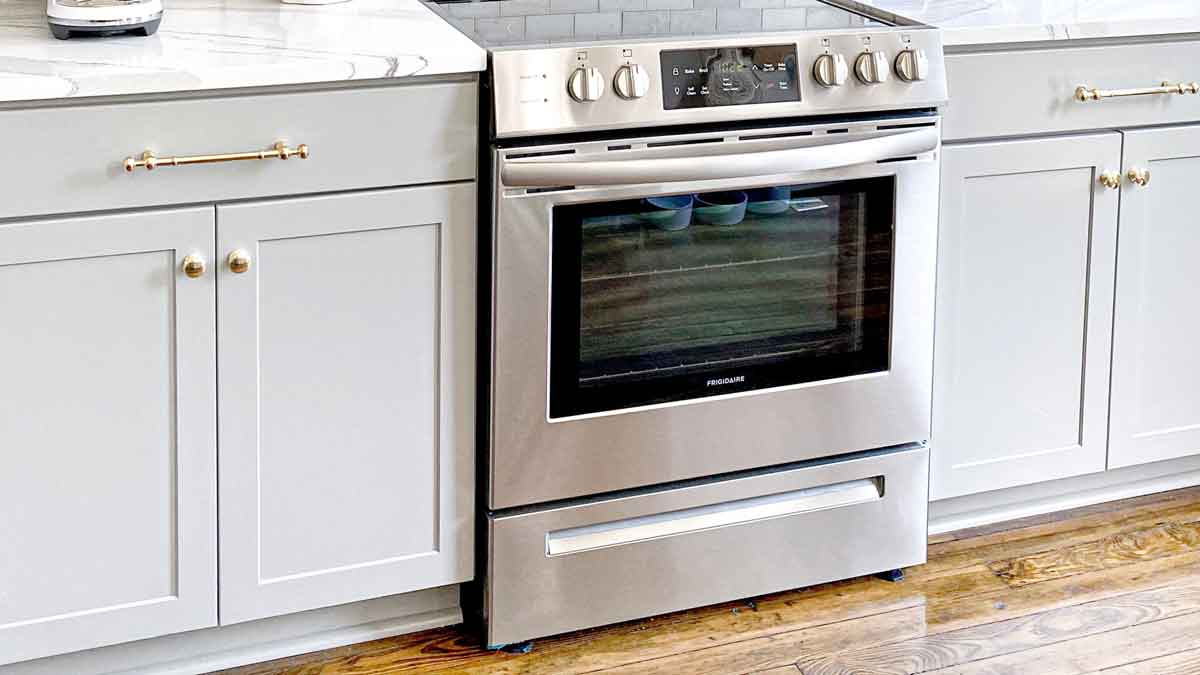
Enjoy Cooking in Your Sparkling Clean Oven!
With these steps, you can clean your oven and make it shine like new.
You'll be able to use your oven without worrying about the buildup that may have been preventing you from using it. You can also be confident your food will taste as good as it should and that your dishes will come out of the dishwasher smelling fresh and clean.
So try these tips and tricks, and let us know how they work. And make sure to check our complete how-to-clean-a-kitchen guide for more kitchen-cleaning hacks!
FAQs
What is safe to clean the inside of an oven?
Baking soda and white vinegar, two well-known kitchen allies, may take on a grimy, buildup-covered oven and transform it into a spotlessly clean appliance. Using these natural materials, you can make a cleaning paste without chemicals that removes even the toughest grease and stains.
How often should you clean your oven?
The oven interior should be cleaned every three months or whenever burnt food or smoke is discovered when baking. Most ovens are self-cleaning, but remove the racks and clean them separately to ensure the best cleaning results. Also, make sure to follow the manufacturer's instructions.
How do I get burnt stuff off the bottom of my oven?
White vinegar makes removing the thick grease stains from the bottom of your oven simple. Since vinegar is quite acidic, it effectively dissolves dirt layers and makes it easier to complete the process quickly.
Is baking soda in the oven dangerous?
In ovens, baking soda poses no risk. Baking soda is incredibly efficient, inexpensive, simple to use, and non-toxic when cleaning the oven. Baking soda is alkaline, whereas food particles in oven oil are typically acidic. Baking soda balances acidity and breaks down grease, making it simpler and less labour-intensive to remove.
