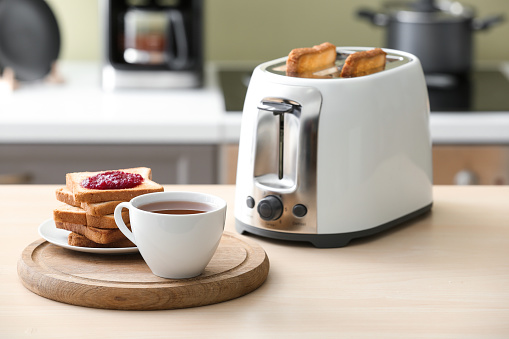
How to Clean a Toaster Inside and Out In 8 Easy Steps
A toaster is one of the most popular kitchen appliances because a toaster is versatile. It allows toasting bread, bagels, and even English muffins. However, these machines get dirty very quickly, which can cause them to wear out prematurely.
Regularly cleaning your toaster will help it last longer and perform better by ensuring all its parts are working correctly. In addition, cleaning your toaster will also prevent loose crumbs from getting stuck inside of it while it's being used or stored away after use.
Cleaning a toaster is necessary to maintain its best performance. It can also be used to repair specific issues arising from the toaster. Toasters can also be challenging to clean because they are small, but here are some tips on how to clean a toaster properly.
It's time to give that dusty stainless steel toaster a makeover. We'll show you how to clean a toaster inside and out, making it nearly as good as a new toaster.
And if you're short on time but still want a clean kitchen, consider hiring a house cleaning service in Melbourne to do the job for you. A professional cleaner will take care of your small appliances, including your toasters and coffee makers.
What You'll Need
To clean a toaster, you will need the following items.
Instructions
1. Unplug the toaster oven
Turn off the toaster and unplug it from the wall. If you don't, you might get shocked or electrocuted when cleaning your toaster. Make sure you're also not cleaning a hot toaster, as it may cause burns if you slip while trying to clean under it while it's still plugged in.
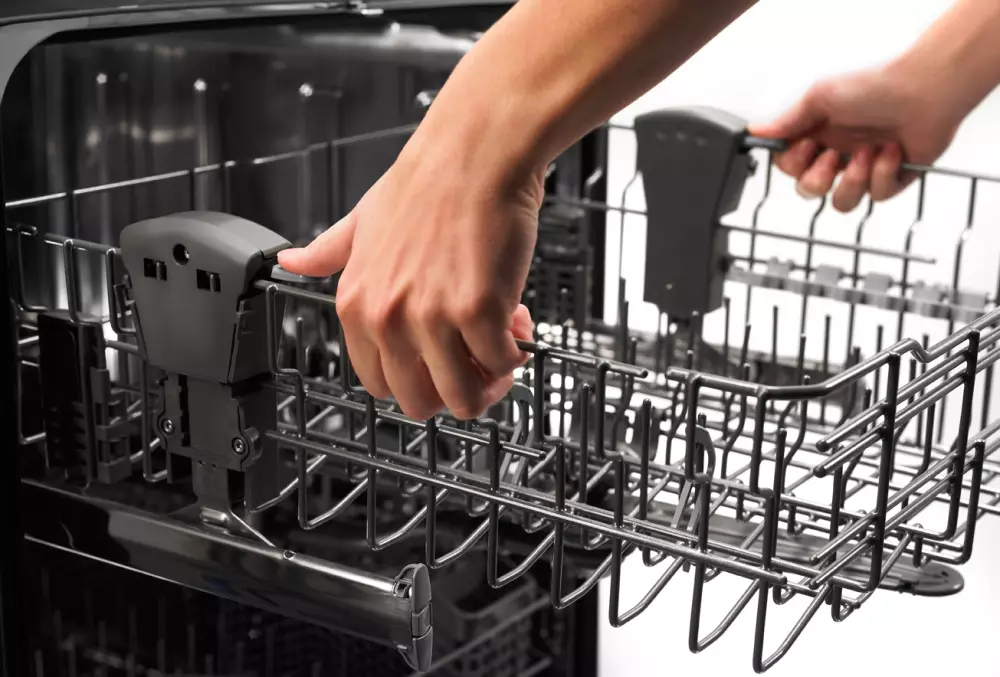
2. Remove the crumb tray and any removable racks
Most toasters have removable crumb trays that can be taken out for cleaning. If your toaster is of the oven variety, it likely will have removable rack trays that can be taken out for cleaning. The crumb trays are usually at the bottom of the toaster, and the racks are inside the appliance. To remove them, pull on the racks until they come out.
3. Shake out the Crumbs
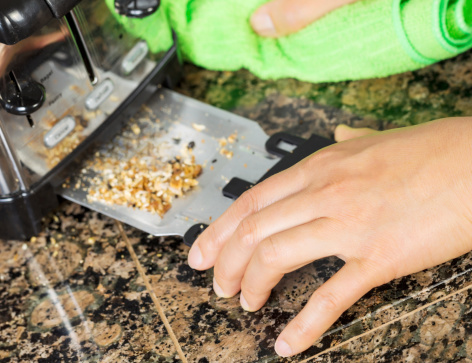
Once the crumb tray has been removed, you can shake out any crumbs accumulated inside the toaster. But first, grab your kitchen garbage bin, or bring the toaster to the sink to work because it's about to be a crumbly mess all over the counter.
Also, be careful when shaking the toaster upside down. Make sure you do it vigorously enough to dislodge the crumbs but gently enough not to damage them.
4. Clean the inside of the Toaster
There are a few ways to clean the inside of the toaster, but basically, brush out the interior, wipe it over with a cloth, or both. To clean the inside, you can:
- Use A Damp Cloth: Wipe down the interior surfaces of the toaster with a damp cloth. You can also use a mild soap or a little bit of an all-purpose cleaner if needed.
- Use A Cleaning Brush: If there are any hard-to-reach areas, you can use a brush like a pastry brush or toothbrush to clean them. It's a great way to get in there and clean all the nooks and crannies.
- Baking Soda: Make a paste out of baking soda and water and lightly scrub the toaster's interior surfaces.
- White Vinegar: Mix equal parts white vinegar and water and use it to clean the interior surfaces of the toaster.
Be careful when cleaning the inside of a toaster not to damage the delicate heating elements inside. And while cleaning, never use harsh chemicals or abrasive cleaners as they can damage the toaster. Also, don't use steel wool or anything else that could scratch the surfaces.
5. Clean the crumb tray and removable racks
Next, move on to cleaning the crumb tray and any racks you removed in step 2.
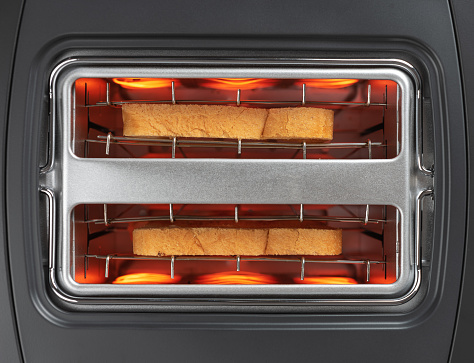
These can usually be washed in your sink with warm water and dish soap. If the racks and crumb tray are particularly dirty or have melted on cheese, you may need to soak them for a few minutes before scrubbing. Rinse them with clean water and dry them thoroughly before putting them back in the toaster.
Also, ensure you don't use harsh chemicals or abrasives when cleaning the racks, as these can damage the chrome-plated finish.
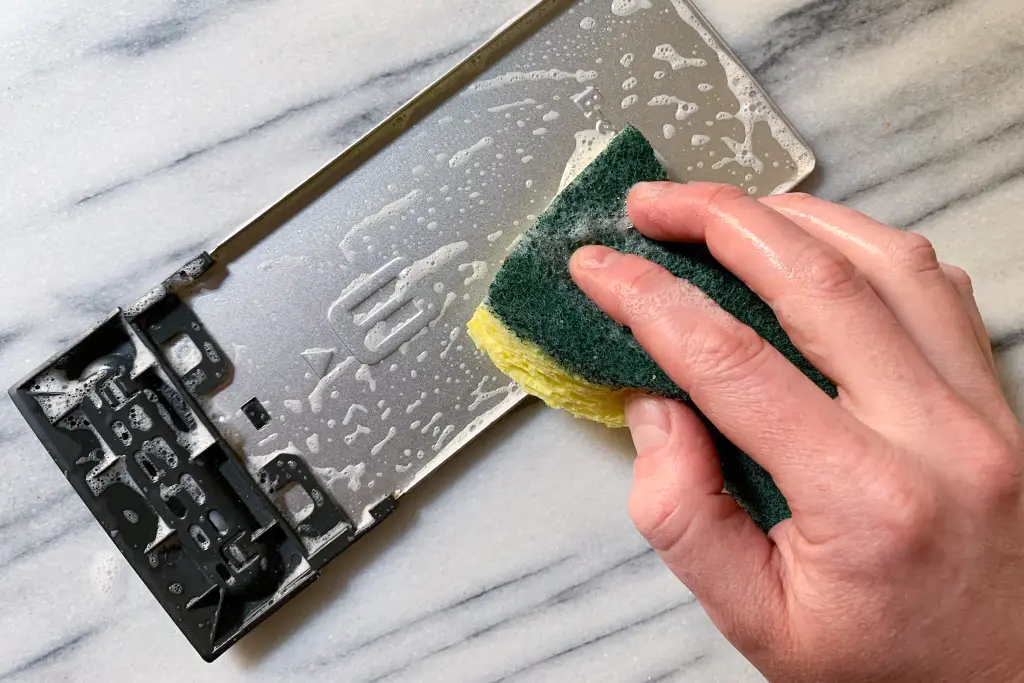
6. Wipe The Exterior Surfaces & Power Cord
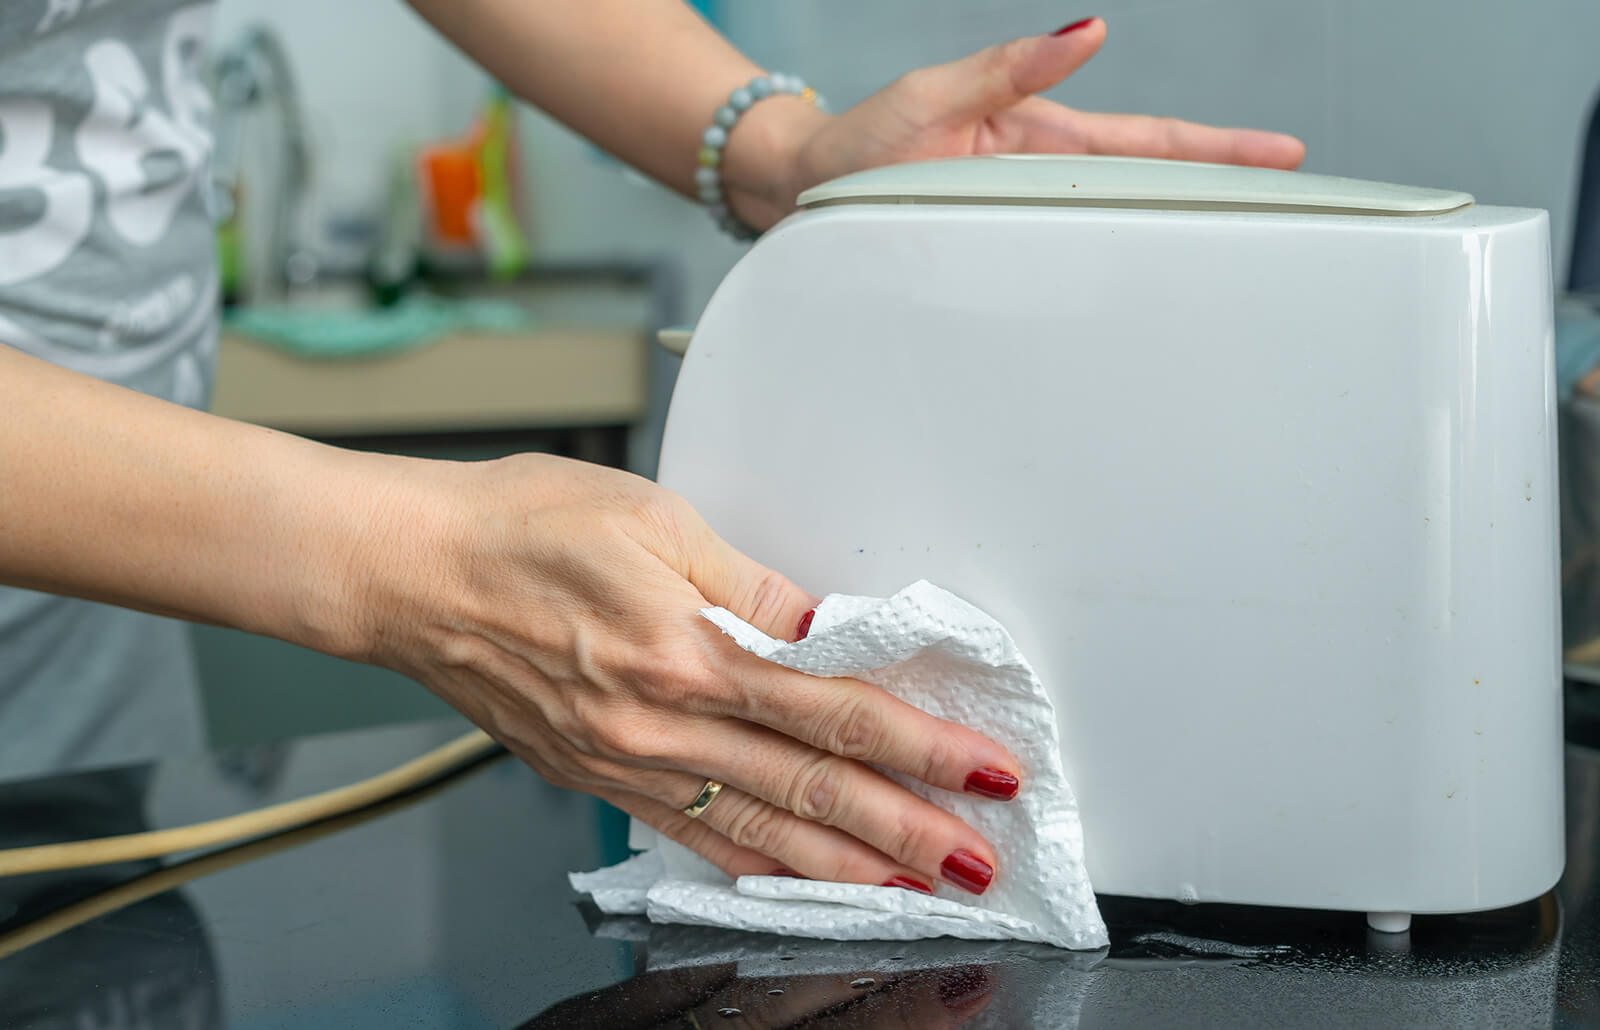
To clean the outside of your toaster and remove grease and grime build-up from the exterior surfaces, use a damp cloth or sponge. Use kitchen surface spray or warm water with a splash of vinegar for your cleaning solution.
You can also give the power cord extra attention with a soft scrubber or sponge.
Ensure you do not use abrasive cleaners, steel wool pads, or anything else that could scratch the surfaces.
Use a cotton swab or toothpick dipped in soapy water for controller buttons to clean in and around them. Also, use a dry cloth for the final wipe to avoid water spots.
7. Polish the Toaster to make it shine like new
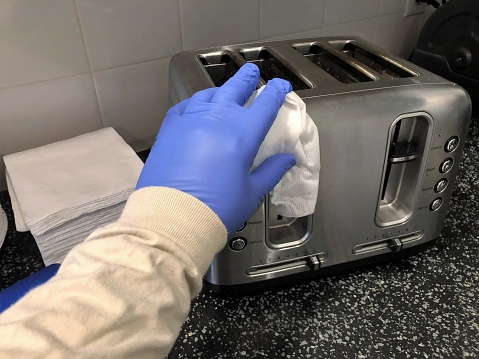
After you've scrubbed and dried your toaster, use a soft, dry cloth dipped in vinegar to clean and polish it. You can use any old cleaning cloth lying around the house or invest in an all-purpose polishing cloth.
This process will make your toaster look new again without damaging its exterior body. It is beneficial if you have hard water stains on your toaster. Note that you do not need vinegar for this step. You can use a dry microfiber cloth. The polishing process will help remove these stains while restoring lustre to its exterior shell.
8. Let it Air Out
After you've cleaned your toaster inside and out, it's essential to let it air out before using it again. It will help remove any lingering odours and ensure your toaster is safe. Unplug it and leave it open for a few hours. Once it's dry, put the rack or removable crumb tray back in and plug them back in. And that's it! Your toaster is now clean and ready to use.
Keeping Your Toaster Clean
It's good practice every week or so to wipe over the outside of the toaster to help prevent grease build-up and to keep the exterior clean from mess and fingerprints. It would be best if you also emptied the crumb tray every so often to avoid the build-up of crumbs and help prevent bad smells when using the toaster.
It's essential to clean your toaster at least once a week. If you use it every day, you should clean it every two days. If you notice burnt-on crumbs, it's time for deeper cleaning.
Clean a Toaster Now!
So there you have it. We've covered how to clean a toaster oven, and now you can go forth and enjoy your appliance with the peace of mind that comes from knowing it is clean.
If you want more information on keeping your kitchen in tip-top shape, check out our blog for ultimate guides on Kitchen Cleaning and organizing your home.
FAQs
Why should you clean your toaster?
Toasters have small crevices that can store crumbs and other food particles. These little nooks can harbour bacteria and germs, which can lead to food poisoning if you don't clean them out regularly.
When you use a dirty toaster, the buildup of crumbs and grime can cause an uneven cooking surface that could burn your toast or bagel.
Dirty toasters can also cause fire hazards as they can overheat due to buildups of grease and other substances inside the machine.
How Often Should You Clean a Toaster?
Cleaning your toaster isn't a task that most people enjoy, but it's one that you're going to want to do regularly. The more often you clean your toaster, the less likely you are to wind up with crumbs stuck in the crevices, and the more likely your toast will pop out evenly cooked and golden brown.
How to Clean Toaster With Cheese in It?
If you've got melted cheese in your toaster, don't despair. First, unplug the toaster and let it cool. Then, remove the cheese using a butter knife. Next, use a damp cloth to wipe down the inside of the toaster. Then, place the toaster upside down on a paper towel and shake it to remove any loose crumbs.
How To Deal With Melted Plastic In Toaster Ovens?
To remove a melted plastic bag from the finish of a toaster, begin by unplugging the appliance and allowing it to cool. Next, use a wooden or plastic scraper to remove as much plastic as possible. If residue remains, sprinkle baking soda on a damp sponge and scrub the area. Wipe away with a clean, wet sponge and repeat until no more plastic comes off.
To remove the final discolouration, dip a cotton ball in an acetone-based nail polish remover. Rub the area with the cotton ball and use a fresh ball as the plastic is transferred. Lastly, wipe the area with a water-dampened soft cloth to rinse the area.
