How to Clean a Ceiling Fan: Your Simple Guide to Say Goodbye to Grimes and Dust Bunnies
Are you tired of looking at your ceiling fan and seeing grime and dust bunnies? A dirty ceiling fan looks unsightly and can spread dust and allergens around your home. Although cleaning a ceiling fan might appear difficult, with the correct tools and methods to clean a ceiling fan, it can be a quick and easy job. Another easy option is to hire a professional cleaning service to dust your ceiling fans for you.
In this article, we'll take you through a step-by-step guide on how to clean a ceiling fan, from the initial preparation to the final polish. So grab your cleaning supplies, and let's start saying goodbye to high ceiling fans and grime and dust bunnies for good.
Ceiling fans are a great addition to any home. They can help to cool you down during the hot summer months, circulate warm air during the winter, and reduce your energy bills all year round.
However, like any household appliance, ceiling fans require regular cleaning to ensure they function effectively and remain hygienic. A dirty ceiling fan can harbor dust, grime, and allergens, harming your home's health and air quality.
Fortunately, cleaning a ceiling fan is not as difficult as it may seem. In this article, we'll give you a simple and practical guide on how to clean your ceiling fan, including the tools and techniques needed to get the job done right.
This guide will give you everything you need to know how to clean a ceiling fan, say goodbye to grime and dust bunnies, and keep your ceiling fan in top condition.
What You'll Need
Instructions
1. Switch off the ceiling fan
Switch off your ceiling fan and let the fan blades stop spinning altogether. Spread an old sheet or a drop cloth on the floor beneath the fan if you see a significant dust and germ accumulation on the fixture and blades. Stretching the old sheet tightly will help you avoid falling.
Next, you'll need to gather your materials and take a comfortable position. To reach the fan, you might need a step stool, step ladder, or extension ladder, depending on the height of the floor or ceiling.
2. Clean the fan blades
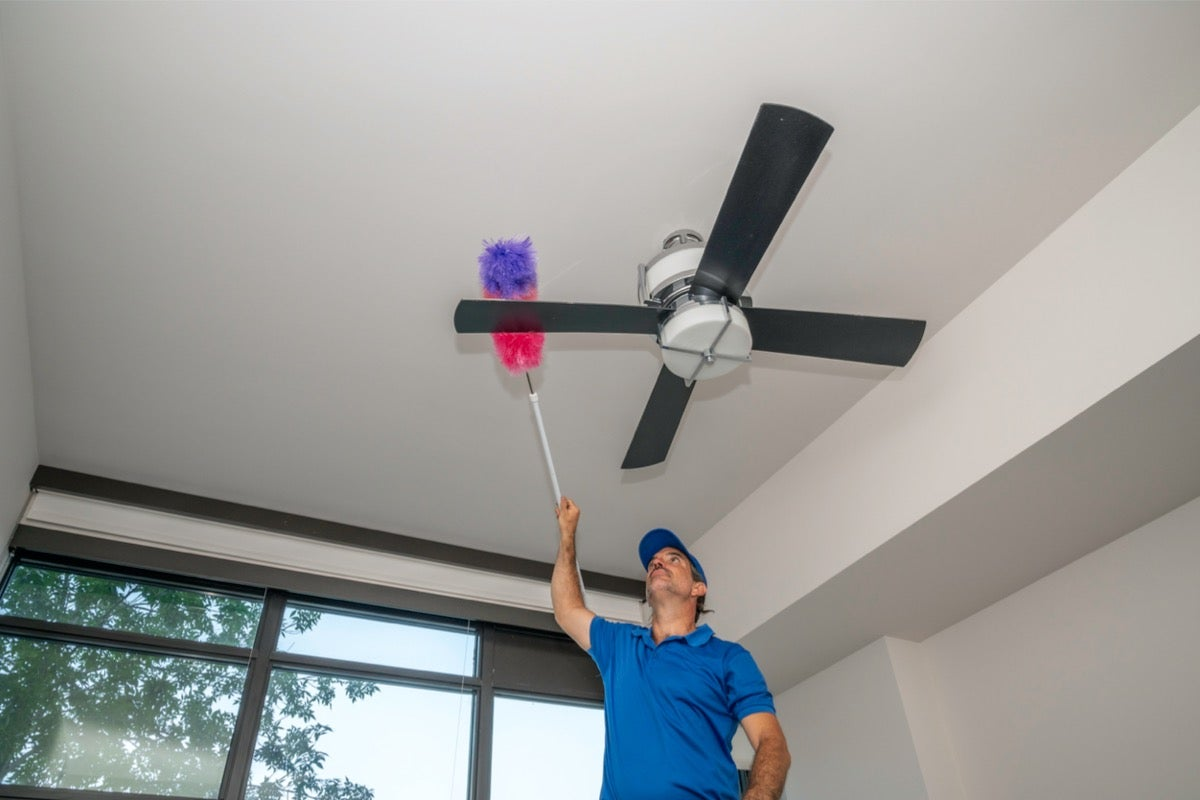
Use a ceiling fan duster, an empty old pillowcase or case, or a clean, dry microfiber cloth to gently dust each fan blade while standing on a step stool or ladder. If it is safe, lightly sweep the blade edges with a vacuum cleaner equipped with a dust attachment and an extended hose.
If the fan blades need a thorough cleaning, gently wipe them down with a terry towel or microfiber cloth soaked in water, then let them air dry completely.
You can buy telescoping dusters with flexible heads to regularly dust fan blades, allowing you to work with your feet on the ground. But getting as close to the fan as you can safely reach and manage is the best method to clean it thoroughly.
3. Wipe the motor housing
Use a clean, dry cloth to brush them down for the motor housing and pull chains. Blow the motor housing with compressed air to clear the interior dust for a more thorough cleaning. Please don't allow liquid to enter the motor housing or pull chain.
4. Polish with a dust-repelling spray
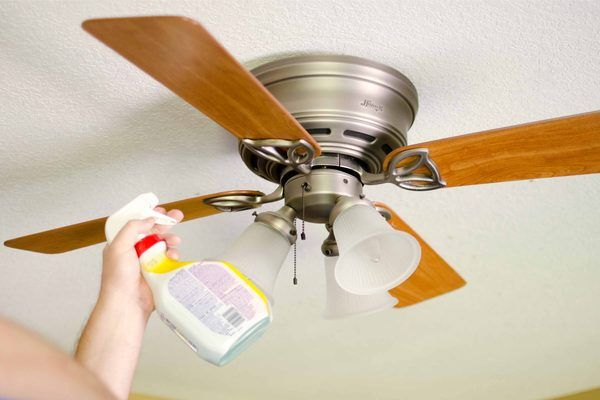
Once your blades are clean, keep them that way by using a commercial anti-static, dust-repelling spray. Spray the solution onto the blades with a fresh microfiber cloth, then wipe each blade on both sides.
If you'd instead create your anti-static spray, combine fabric softener and water in a spray container at a ratio of one to four.
5. Remove the light bulbs and glass shades
By gently rotating the mounting screws counterclockwise, you can detach the light bulbs and any glass globes or shades covering them.
You must remove the shade to access the bulb on some ceiling fans. Some globes include bottom openings that simplify taking the light bulbs out. Keep a small bowl or cup handy to put any washers or screws you take out of the glass globes.
6. Wash the shades with soapy water
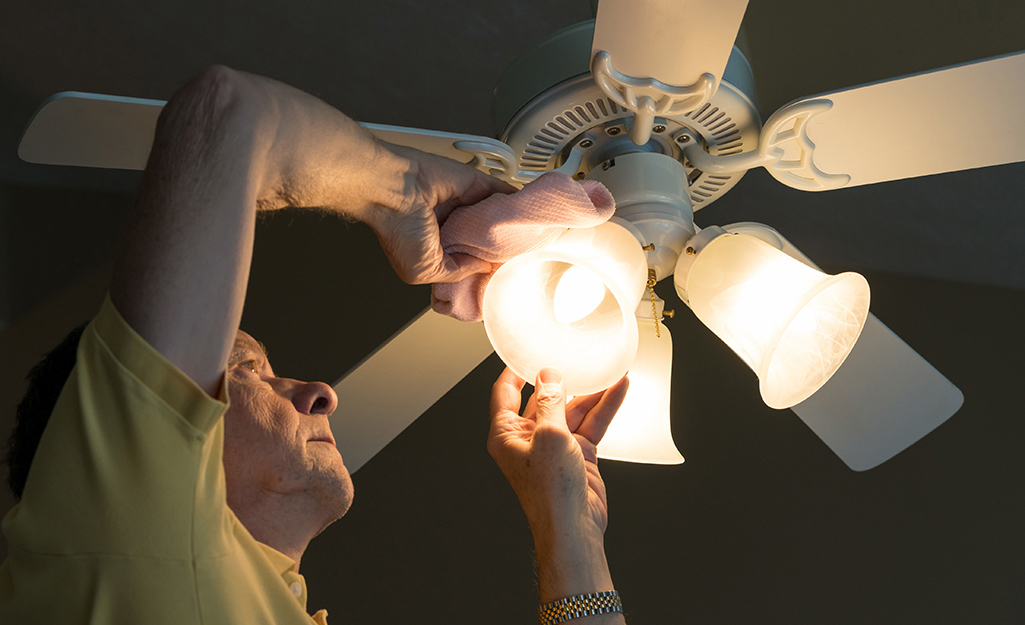
Every ceiling fan and a light component can gather dust and filth, and dead insects are not uncommon to settle inside lampshades or globes.
First, remove dust and any debris after removing the glass shade or light globes from the light fixture, bathe it in warm, soapy water, and then completely dry it before replacing it.
7. Wipe the light bulb's housing and inspect the shade gaskets
Use a slightly damp or microfiber cloth to clean the lamp's housing gently. Make sure to avoid getting water inside the fan or light fixture.
Rubber gaskets may be at the base of some glass globes or shades where they connect to the light. If the gasket on your fixture is damaged or torn, replace it with a new gasket or fix it with two or three strong rubber bands.
8. Replace the lightbulbs and reattach the shades
Tighten the mounting screws with your fingers when replacing all the dust and clean shades. Tightened screws prevent the glass from rattling or wobbling when the fan runs. If the light bulbs are burned, change them or install new ones.

Enjoy a Cleaner and Healthier Living Room
Cleaning the dust inside your ceiling fan is a simple task that can make a big difference in your home's cleanliness and air quality.
Following the simple steps outlined in this guide, you can say goodbye to grime and dust bunnies and enjoy a cleaner and more comfortable living space.
Regular ceiling fan cleaning can also help clean ceiling fans prolong their lifespan, and prevent wobbling or noisy operation. So why not make cleaning your ceiling fan a regular part of your cleaning routine and enjoy a cleaner and healthier home?
If you're looking to achieve a clean and organized living room, don't miss our comprehensive guide on how to clean your living space effectively.
FAQs
What repels dust on your ceiling fans?
Reduce static and the quantity of dust and dirt that falls on ceiling fan blades with a decent dusting spray. It also helps to keep the house as dust-free as possible. Use a soft dust brush or microfiber cloth to dust the fan blades if they are easily accessible as part of your regular cleaning regimen.
How can you get thick dust off your ceiling fans?
Start using a pillowcase to lightly clean each blade and gather any loose dust if the dust is hefty. Use a moist microfiber towel or damp disposable cloth to remove dense, sticky dust. Make sure not to use anything with alcohol in it. Afterward, wipe the blade and surface with a dry towel and dusting spray.
How often should you clean a ceiling fan?
You can prevent it from malfunctioning or breaking by monthly dusting and clearing the area surrounding the motor. You may also inspect the globe for debris and remove interior dust once every few months. You might only need to clean your fan every three months if you have a clean home free of dust and animals.
