Knowing how to clean light fixtures is essential for maintaining a bright and welcoming ambience in your home. Over time, dust and grime can accumulate on bulbs and shades, causing them to appear up to 30 per cent dimmer.
This guide delves into the importance of keeping your fixtures clean and provides practical tips for achieving sparkling results. Whether chandeliers, pendant lights, or ceiling fixtures, this blog covers everything you need to know to ensure your home has a warm and inviting glow.
Welcome to a brighter home! Have you ever noticed how much of a difference knowing how to clean light fixtures can make in brightening a space?
Picture this: you walk into a room and are greeted by a warm, inviting glow that instantly uplifts your mood. Now, imagine the same room but with dim and dusty light fixtures casting a dreary shadow over everything. Quite the contrast, isn't it?
Cleaning your light fixtures isn't just about aesthetics; it's about creating an atmosphere that enhances your everyday life. Think about it: when your fixtures are covered in dirt and grime, they look unappealing and emit significantly less light.
This comprehensive guide unveils the secrets to achieving sparkling results in light fixture cleaning, providing step-by-step instructions to rejuvenate everything from chandeliers to pendant lights.
What You’ll Need
- Ladder
- Microfiber cloth
- Vacuum cleaner
- Duct tape
- Blanket
- Water
- White vinegar
- Spray bottle
Instructions
1. Ensure safety by turning off your light fixtures and electricity
When cleaning light fixtures, ensure all fixtures are switched off to kick off the light fixture cleaning process safely. For extra precaution, head to your breaker box and turn off the electricity supply, safeguarding against potential accidents.
Mixing electricity with cleaning solutions can pose risks, so double-check that all fixtures are unplugged or powered off.
2. Know your light fixture type
Understanding your light fixture type is crucial for effective cleaning. Different lighting fixtures require different care methods for optimal results. Refer to assembly instructions for fixtures with intricate components or sketch a plan beforehand to streamline disassembly for thorough cleaning.
3. Eliminate dust away from your light fixtures

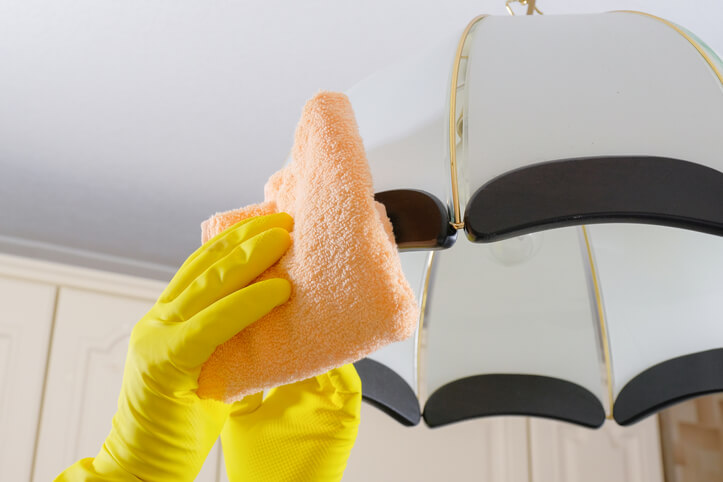
To begin the cleaning process, use either a dry microfiber cloth or a vacuum cleaner equipped with a soft brush attachment to eliminate dust from the surface of your light fixture delicately. Pay meticulous attention to ceiling lights, pendant lights, and chandeliers, addressing all areas to guarantee they are entirely free from dust buildup.
This step is essential for preparing the fixtures for deeper cleaning and ensures that the light emitted remains clear and unobstructed.
4. Remove dust from your light bulbs with a damp cloth
Ensure the light bulbs are completely cool before wiping away dust and bacteria with a wet microfiber cloth, as a dry cloth won't do the trick due to baked-on dust caused by bulb heat.
After that, replace the clean light bulbs securely, ensuring they're scorched before reinstallation. Remember to handle bulbs gently to avoid breakage, and for stubborn dirt, consider replacing heavily soiled bulbs. If a bulb is stuck, use duct tape for easier removal.
5. Revitalize your chandelier and pendant lights with a soft cloth

Before cleaning, snap pictures of your chandelier and glass pendant lights from various angles for easy reassembly later.
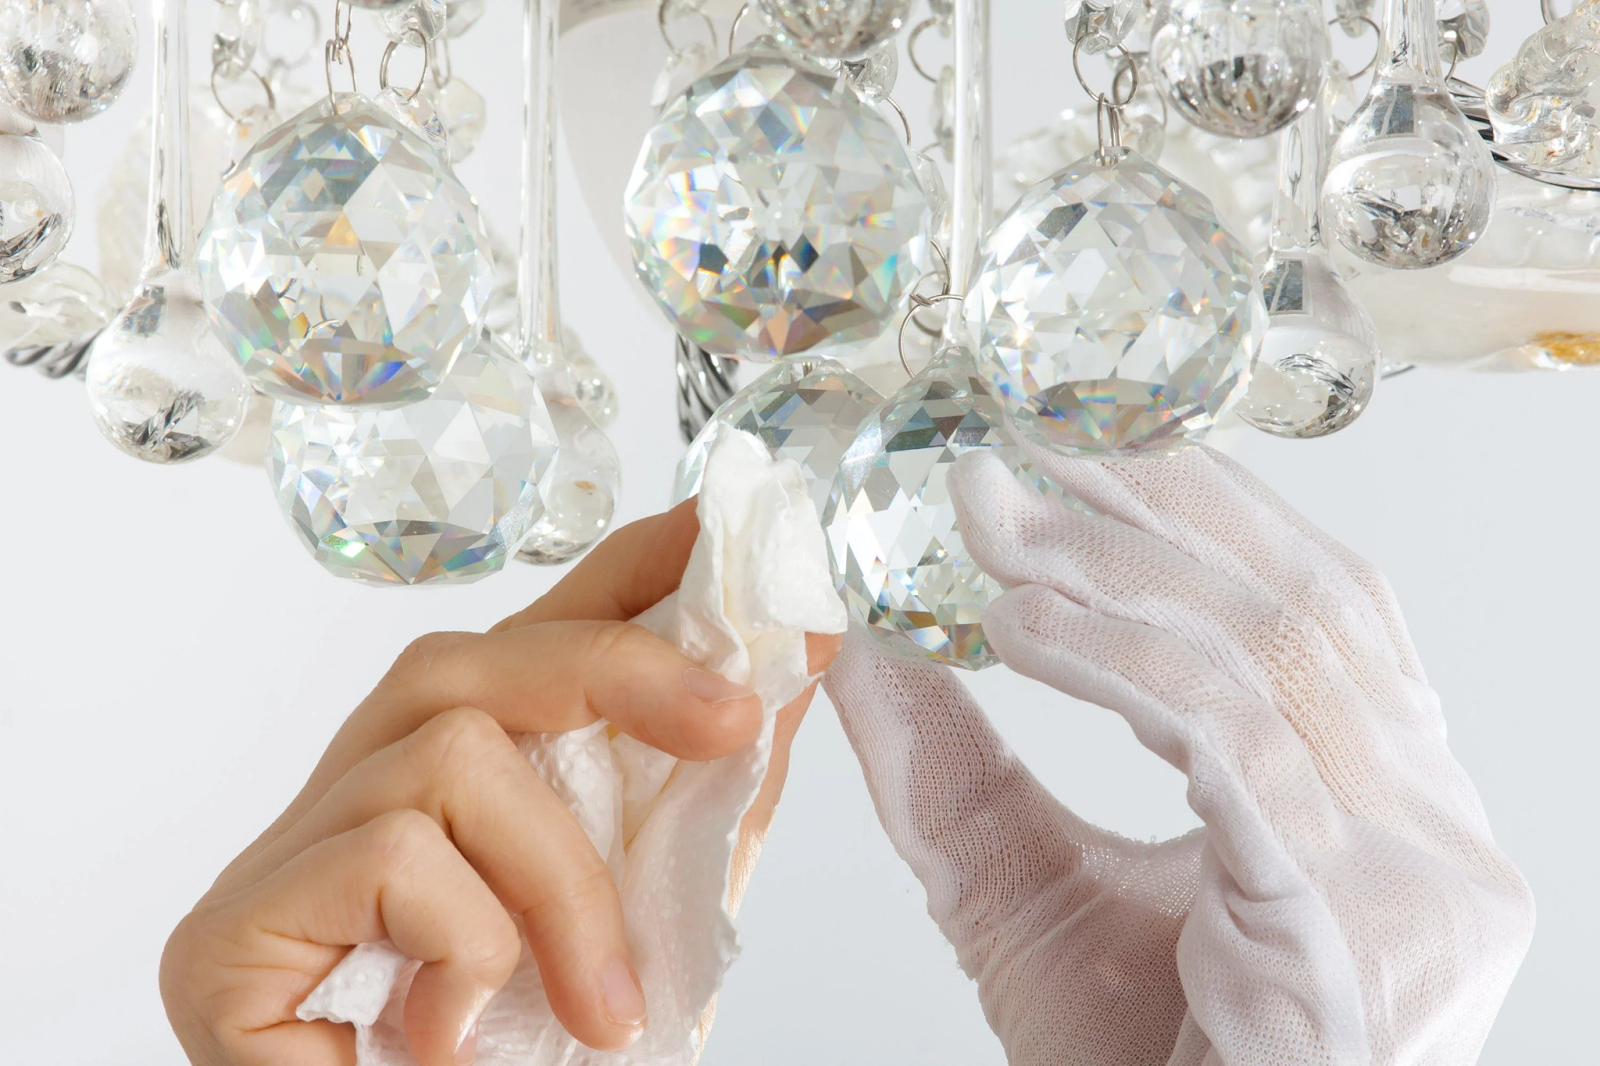
Place a folded blanket underneath to catch any falling pieces. Carefully remove crystals, working from top to bottom, and wipe them with a dry microfiber cloth to remove dust. For pendant lights, take extra care not to misplace screws or hardware.
Mix one part of white vinegar with three parts of water in a spray bottle and spritz a clean cloth. You can also use warm soapy water as an alternative. Wipe the crystals or globes with the solution, then use a dry cloth to buff out streaks. Ensure everything is dry before reassembly, and gently clean the metal parts of the fixture before replacing the crystals or globes.
6. Restore your recessed can lights
To ensure your recessed can lights remain bright and clear, start by removing the light bulb. Pull the baffle straight until it catches, then release it from the bracket, securing it to the housing inside the ceiling by pinching the wires or "torsion springs" on each side. Wipe the back of the baffle with a damp, soft cloth to remove dirt and debris. If you’re ever in need of professional assistance for your lighting system, experts like Jolt Electric & HVAC offer services to handle all range of maintenance or repairs.
Next, restore the recessed housing in the ceiling with a damp cloth, ensuring thorough drying afterwards. Expect some dust and debris when refreshing the housing. Once the baffle and housing are restored and dry, reattach them and clean their inside with a damp cloth. Wipe down the light bulb for improved clarity before screwing it back into place.
7. Clean your light shades to keep it bright

Proper cleaning of the shades is essential for keeping your light fixtures shining bright.
Use a soft, damp cloth or gentle glass cleaner to remove dirt and grime for glass shades. Fabric shades can be gently vacuumed to remove excess dirt, while stubborn stains may require a dry cleaning product.
Beaded shades should be vacuumed regularly to prevent dust buildup, with stubborn spots addressed using a damp cloth. As for paper shades, a simple wipe with a dry cloth should suffice, but if dirt accumulates heavily, it may be time for a replacement. Avoid using dishwashers or washing machines for cleaning, as this can damage the shades.
8. Final check and power on
After cleaning your light fixtures, use a dry microfiber cloth to thoroughly dry them to prevent water spots and achieve a streak-free finish. If you've removed any parts for cleaning, like shades or crystals, ensure they are reassembled carefully, following the manufacturer's instructions.
Now, it's time to turn on the power. Safely switch the power back on at the circuit breaker or fuse box. Finally, inspect the fixture and surrounding area to ensure everything is clean and functioning correctly.

Maintain Your Light Fixtures for a Brighter Home
Regularly maintaining your light fixtures is crucial for a bright and inviting home. By integrating weekly dusting into your cleaning routine, you can effortlessly uphold cleanliness without much hassle.
Schedule deep cleaning sessions for your light fixtures twice yearly to ensure they remain in top-notch condition. With clean bulbs and shades, you'll experience enhanced illumination in every corner of your home while also prolonging the lifespan of your bulbs.
This straightforward DIY task can quickly be completed in just an afternoon, leaving your home gleaming and your mood uplifted for weeks to come. So, why wait? Brighten up your space and spirits by following these simple steps to clean your light fixtures. Let the radiance of clean lighting transform your home into a haven of warmth and comfort.
FAQs
1. How often should I clean my light fixtures?
The frequency of cleaning your light fixtures depends on factors such as the dustiness of your home and the location of the lights.
For instance, kitchen lighting fixtures might accumulate grease or food splatters, necessitating more frequent cleaning. Dusting your light fixtures during general cleaning or at least every few weeks is advisable. A deeper cleaning session typically suffices once or twice per year.
2. Why should I regularly clean my light fixtures?
Regular cleaning prevents the accumulation of dust and debris, ensuring that cleaning can be done with ease and efficiency. Additionally, it's essential for maintaining cleanliness in areas prone to grease and steam, such as kitchens, as well as high-humidity environments like bathrooms.
3. Can I use vinegar when cleaning light fixtures?
Yes, vinegar can be an effective cleaning solution for light fixtures. Mix equal vinegar and water in a spray bottle and gently wipe down the fixtures with a soft cloth or sponge.
Vinegar's acidic properties help dissolve dirt and grime, leaving your fixtures clean and shiny. However, be cautious when using vinegar on materials like brass or copper, as it may cause discolouration.
4. Can I clean my light fixtures without removing them?
In most cases, you can clean your light fixtures without removing them. Utilise long-handled dusters or vacuum cleaner attachments with soft brush heads to reach high fixtures or recessed lights. Consider using a step ladder to access the fixtures more comfortably for deeper cleaning.
However, for intricate fixtures or those with delicate components, it may be necessary to remove them for thorough cleaning. Always follow the manufacturer's instructions and ensure the power is turned off before cleaning.

