How to Clean Your Living Room: The Ultimate Guide to Clean Like a Pro With Checklist
A spotlessly clean living room looks fantastic, reduces stress, and gives you more time to enjoy the space with family and friends. Learn how to clean your living room like a professional cleaning service with this ultimate guide, including a helpful checklist. I've included all the necessary cleaning advice to complete the task and keep your living room looking its best. Whether preparing for a last-minute gathering or wanting to maintain a clean and relaxing space, this ultimate guide has got you covered.
Looking for the Printable Living Room Cleaning Checklist?
Jump straight to the checklist
The living room is often considered the heart of the home - it's where we gather with loved ones, relax after a long day, and entertain guests. But with so much use, keeping the space clean and tidy can take time and effort.
Finding an efficient and effective cleaning method is critical to maintaining a spotless living room. This is where our ultimate guide comes in.
We've compiled expert advice and step-by-step procedures to help you clean your living room like a pro. From deep cleaning to vacuuming and dusting, we've got you covered. With our helpful checklist, your living room will be sparkling quickly.
So why not reduce stress and enjoy your space even more with hard work and professional guidance? Check out our cleaning checklist for the living room to get started.

What You'll Need
How to Thoroughly Clean a Living Room: Step-by-Step Guide
Cleaning a living room can seem daunting, especially if it has been neglected for some time. However, it can be a manageable and enjoyable experience with some planning and effort.
This step-by-step guide will outline the most effective way to thoroughly clean a living room from top to bottom so that you can enjoy a fresh and tidy space.
1. Gather the trash in the living room
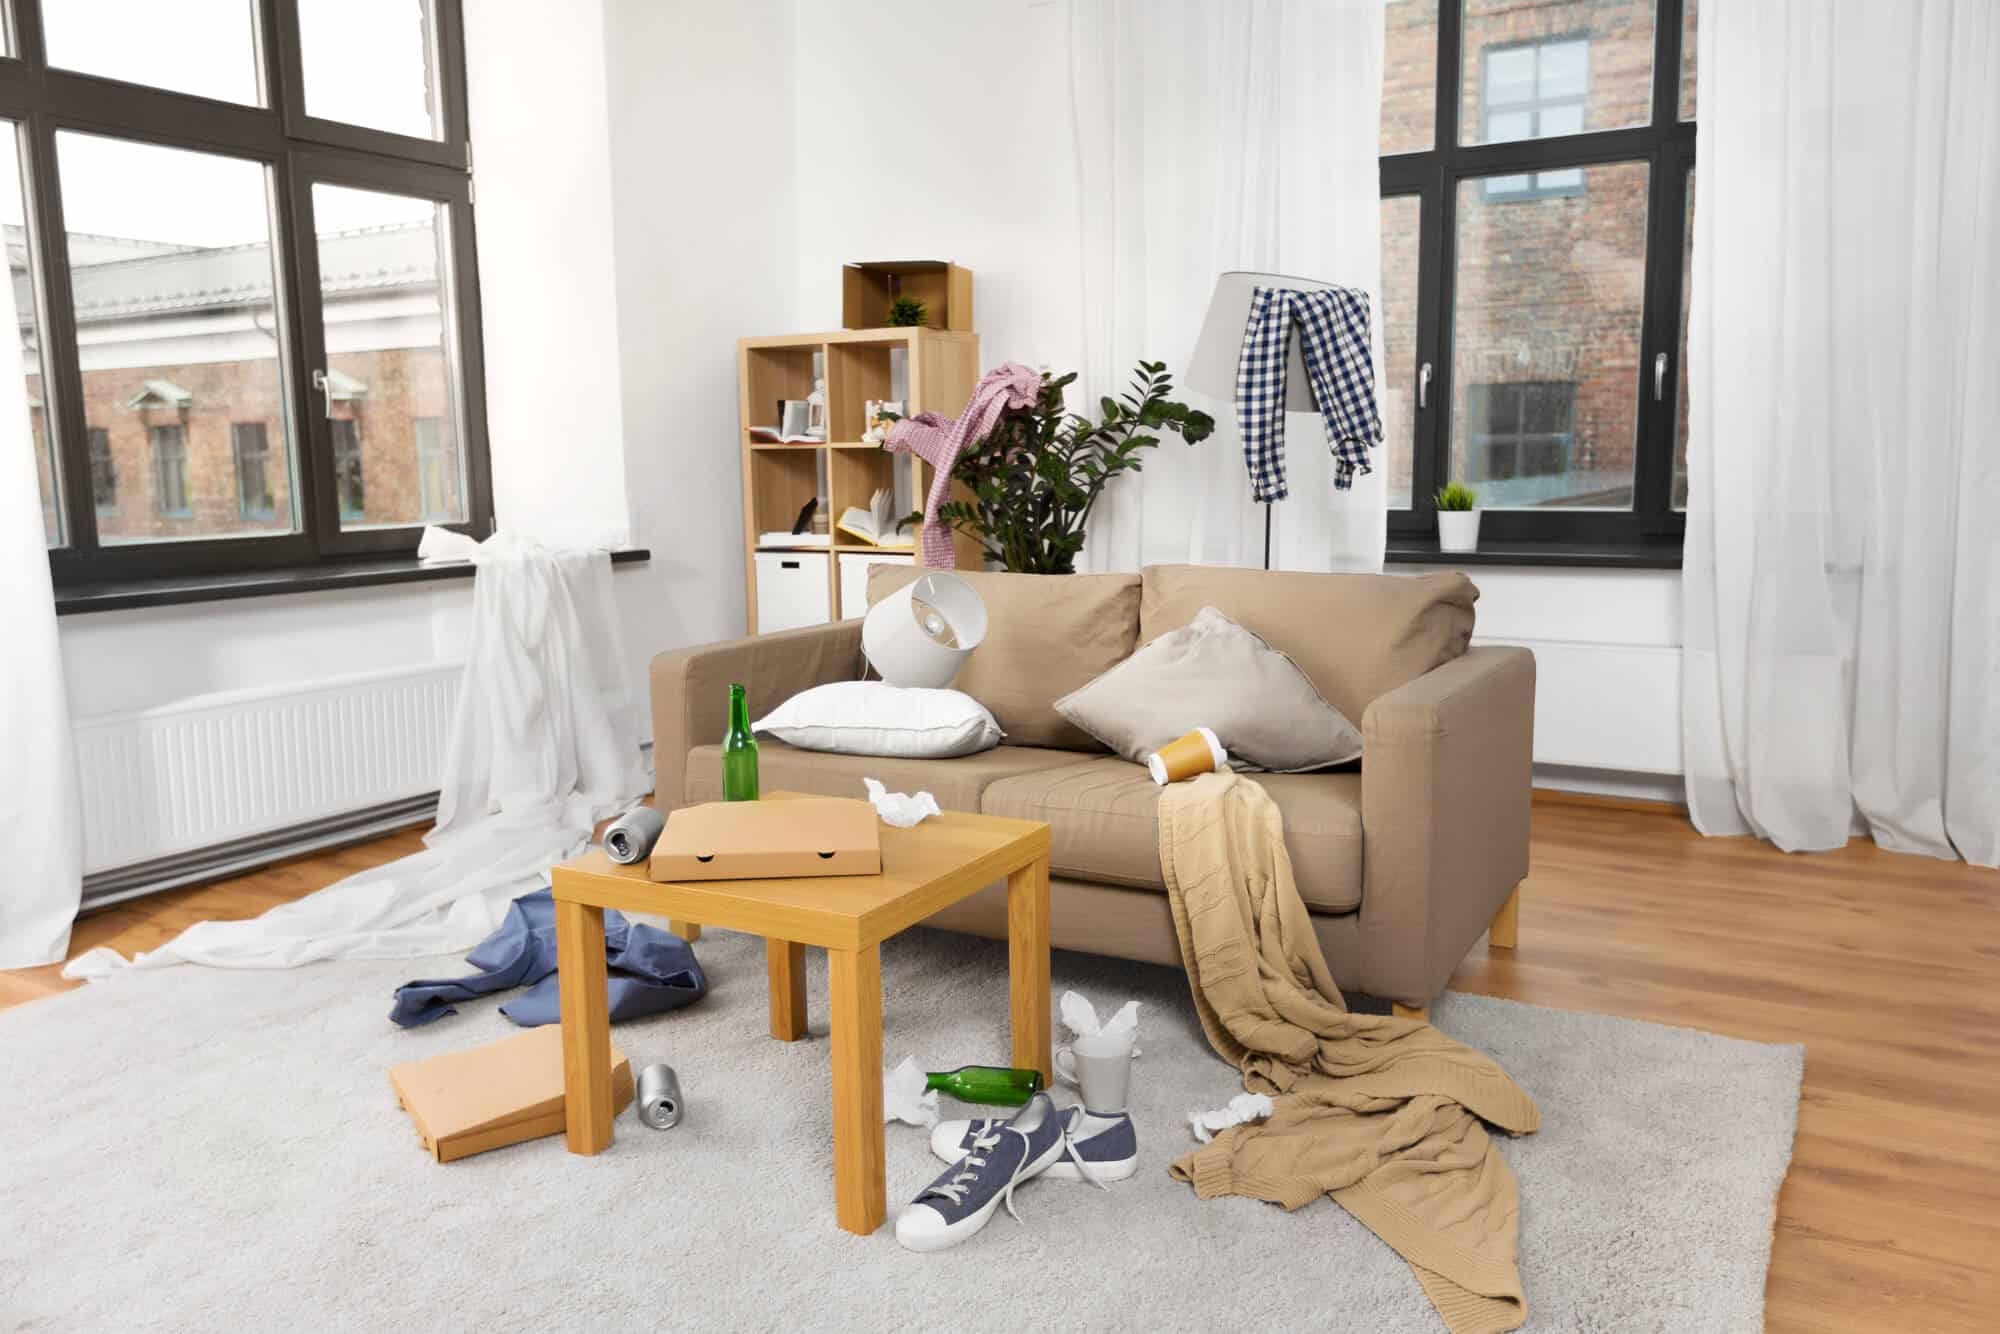
Before thoroughly cleaning your living room, you'll need to gather trash. Please bring a trash bag so you won't have to make multiple trips to the trash can.
Begin by throwing away all obvious waste, such as wrappers and unopened mail. If you have some extra time, take a moment to evaluate the utility of your space.
Are there any items you don't use frequently or don't match your current tastes? It could be wise to eliminate the surplus immediately, freeing up space and making cleaning easier.
2. Remove all the clutter in your space
A cluttered room can be overwhelming, making it difficult to focus on cleaning. Collect all the toys, books, papers, video games, and anything else that doesn't belong in the living room and pile them up in the center.
Using a laundry basket to hold everything as you collect it can help contain the mess. This step will help you focus on one task at a time, making it easier to tidy up the space. Seeing tangible progress can be motivating and inspiring.
If you make it a habit to de-clutter your living room daily, it will only accumulate and become manageable when it's time to clean. You can always hide the basket and organize it later if you're rushing to tidy it up for visitors. But if you have the time, take a few minutes to return everything where it belongs right away.
3. Reorganize the sofa

After clearing the clutter, it's time to focus on the prominent pieces of the living room, starting with the sofa, whether you have a fabric couch or a leather couch. Reorganizing the couch is essential to making the space look neat.
First, fluff the pillows, straighten the seat cushions, and fold any blankets or throws. Next, inspect the upholstery for any crumbs, hair, or lint that may have accumulated. Use a handheld vacuum or a vacuum wand extension to remove them.
A quick once-over with the vacuum can help remove dust and other debris that may have settled in the sofa's crevices.
4. Dust off
Start by dry dusting with a soft cloth or feather duster for hard-to-reach locations like picture rails, curtain rods, and high shelves. You can also purchase specialized dusters for cleaning around radiators.
Make sure to dust your living room from the top down to avoid contaminating already-cleaned surfaces. After dry dusting, switch to a damp microfiber cloth for hard surfaces such as baseboards, picture frames, doorframes, and coffee tables. It will also remove more dust.
When cleaning a television screen, use a new microfiber cloth and gently wipe the screen in an up-and-down direction. Avoid a circular motion. If there are any stubborn stains, use a slightly damp cloth to remove them. Never spray water or cleaning solutions directly onto the screen.
If you have wooden furniture, especially antique furniture, using furniture polish or wax can help feed and protect the wood from moisture. Be sure to read the instructions on the can or tin and seek guidance from a furniture maker or restorer if you need clarification. Finally, always perform a discreet spot test when using a new product for the first time.
5. Clean the light fixtures and ceiling fan
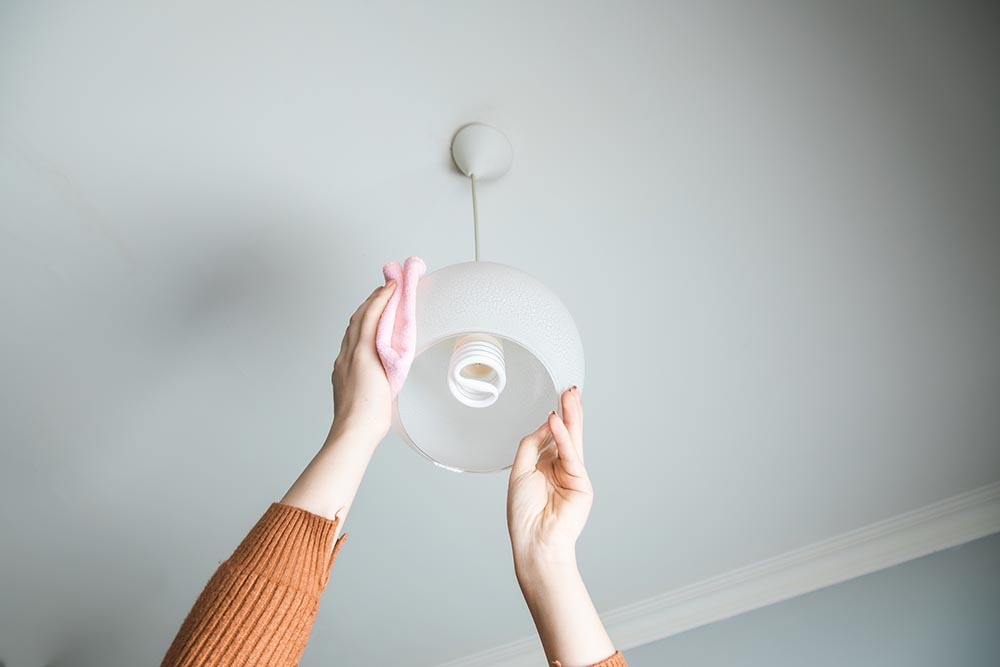
Cleaning light fixtures and ceiling fans should be noticed during cleaning. However, they can accumulate dust and cobwebs that can be easily removed with the help of a vacuum and a long, extending duster.
You can start by setting your vacuum to the lowest setting and using the brush attachment. It's recommended to vacuum from top to bottom, like when dusting.
Before cleaning the light fixture, turn on the lights so you can easily see any cobwebs or dust that may be present. Use a long, extending duster to work around the fixture for a more thorough cleaning. Remember to cover the fixture's chain, bulb, and exterior to remove any cobwebs that may be lying inside.
6. Treat window coverings
Window coverings, such as curtains and window blinds, including Roman blinds, vertical blinds, roller blinds, and Venetian blinds, can be a significant source of dust accumulation. You can clean them without taking them down by using a handheld vacuum. For significant stains or blemishes, consider a trip to the dry cleaners.
Different types of blinds may require other cleaning methods. For instance, some blinds can be cleaned with a vacuum cleaner and a microfiber cloth.
For horizontal shutters or blinds, close them in one direction, clean them from left to right, then close them in the opposite direction and repeat the process. It may be necessary to clean the cloth multiple times along the way.
7. Clean The Windows And Mirrors
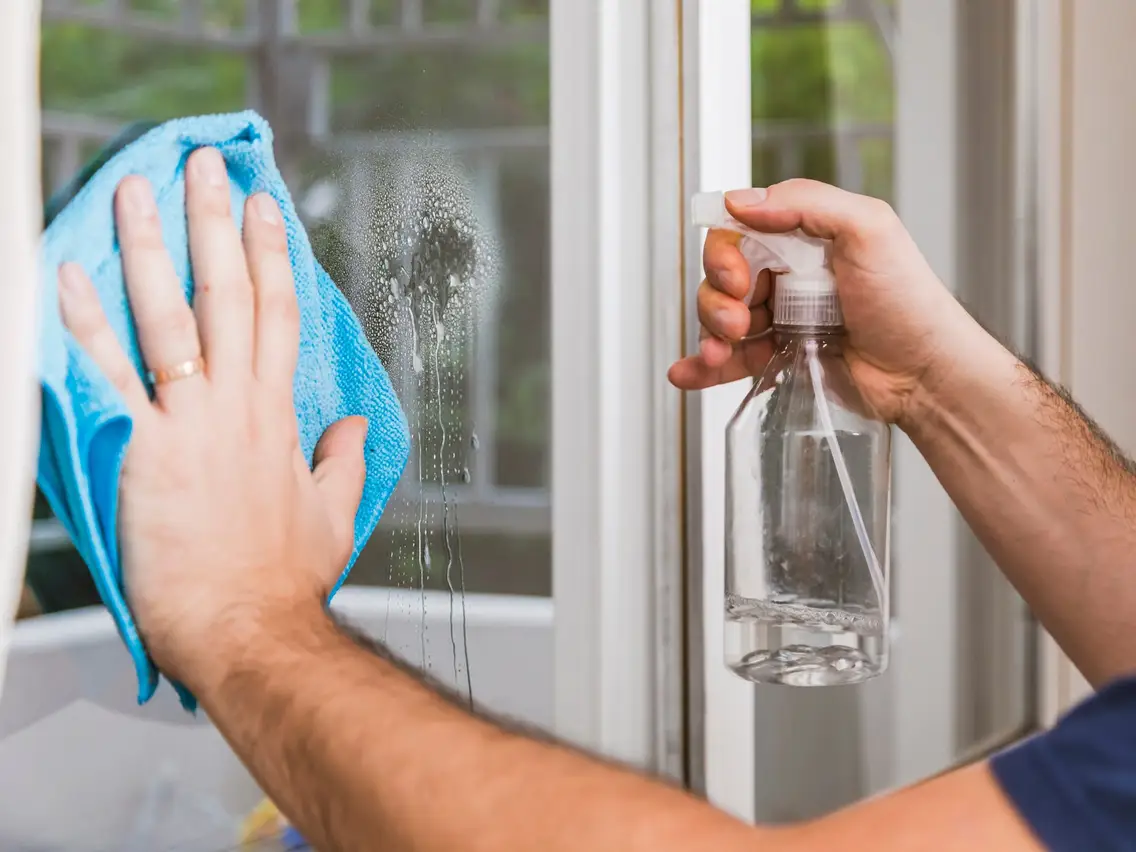
Cleaning the windows and mirrors in your living room is essential to make the room look polished. You can use a general glass cleaning spray or opt for vinegar, which is both natural and inexpensive.
To create a vinegar solution, combine equal parts of white vinegar and hot water with a bit of liquid soap to help eliminate any streaks on your windows and mirrors. Add your mixture to an empty bottle with a fine spray and spray the glass lightly all over, being careful not to overdo it. To ensure no streaks are left behind, take one or more sheets of old newspaper, scrunch them up, and massage the glass until it is clean and streak-free.
Remember to clean any glass vases, coasters, picture frames, lampshades, and the glass of your wood stove if you have one. If you have any burned-on filth on your wood stove, you can use leave-on foam oven cleaning to remove it.
8. Clean up the furniture
Cleaning and polishing your furniture can make a significant difference in the appearance of your living room. You can use a slightly damp cloth or a vacuum cleaner with a dusting brush attachment to clean your furniture before polishing it with a soft cloth.
You have two options for furniture polish: purchasing it or making it yourself. Please ensure you get or create the appropriate polish for your furniture's material and finish, and conduct a patch test before polishing the entire piece.
For hardwood furniture, combine four parts olive oil and one part white vinegar, and test the mixture on a small area of your furniture first to ensure the desired result. Put the solution in a spray bottle, spray it onto the table, and then rub it with a soft cloth to bring out the wood's shine. You can also use vinegar as a cleaning agent to clean and polish your furniture simultaneously.
9. Clean your rugs and carpets
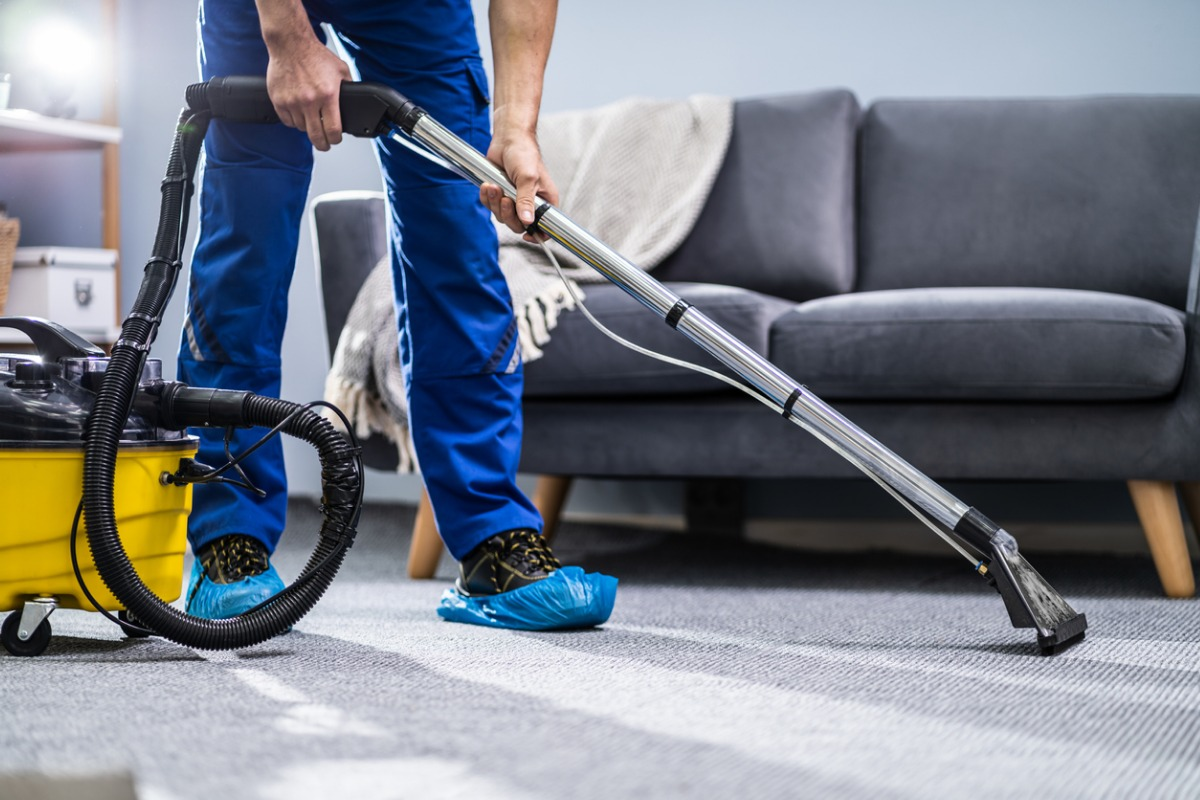
Hiring a professional cleaning service is best if your floor rugs and carpets are heavily soiled. However, if your carpets only require spot-treating, you can rent a carpet cleaning machine and deep-clean it yourself.
Before using the machine, thoroughly vacuum the carpet to remove any loose dirt or debris. Please divide the carpet into sections and clean each area slowly and carefully in a side-to-side pattern, slightly overlapping your strokes. Working in circles or randomly can cause you to lose track of where you've cleaned or step on places you've already cleaned.
For plush carpets, avoid creating unsightly streaks by staying in defined lines, similar to mowing the lawn. Move furniture to reach as far behind and underneath as possible with the vacuum attachments. If you have pets, consider using one of the best vacuums for pet hair.
After cleaning, place towels in high-traffic areas to help the carpets dry more quickly and stay cleaner for longer.
10. Wash the floors
Vacuum tile floors, linoleum floors, vinyl floors, or polished concrete floors before mopping them with a thoroughly wrung-out mop. You can also take the time to clean the walls in your living room. Always wait until the floor is completely dry before returning any rugs or allowing kids or pets back in the living room.
How to Speed Clean Your Living Room in 15 Minutes

With simple tips and tricks, you can quickly and efficiently clean your living room in just 15 minutes. Here's a step-by-step guide to speed-cleaning your living room.
1. Set a timer and make a playlist
To make cleaning more efficient and enjoyable, set aside a dedicated timeframe of, say, 15 minutes. Please ensure you won't be interrupted and remain focused on the task during this time. By doing that, you can just remind yourself that you can complete the cleaning within the time frame that you're doing well.
Another helpful tip is creating a 15-minute playlist of upbeat and positive music you can play while cleaning. Listening to music can boost your mood and improve productivity, making cleaning seem less daunting.
2. Gather all cleaning supplies before starting
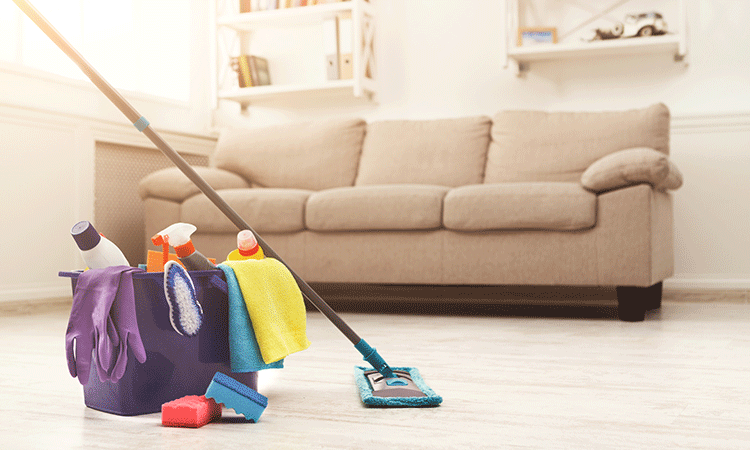
To ensure your cleaning session runs smoothly, you must gather all necessary supplies before starting. Having to repeatedly stop and fetch items such as a trash can or vacuuming equipment can be frustrating and disrupt your focus.
To avoid this, gather a basket, trash can, vacuuming equipment, and any other essential items at the start of your cleaning project. By doing so, you'll be able to keep your attention on the task at hand and complete your 15-minute cleaning session without any interruptions or distractions.
3. Gather the clutter and place them in a basket
To optimize your cleaning routine, it's essential to prioritize and focus on the task at hand. If you have a set time limit, it's not a good idea to try to organize items that don't belong in the living room during this time. Instead, grab a basket and quickly gather everything that is out of place in the living room.
You can avoid the temptation to organize these items in their proper places, which can consume a significant amount of your cleaning time. Instead, place them in the basket and move on to the next task. Running back and forth throughout the house trying to put items in their proper place can quickly become time-consuming and hinder your overall cleaning progress.
4. Clean the couch
Once you've made some progress in cleaning your room and have cleared away any clutter, turn your attention to cleaning the couch. Start by checking the couch's depths for misplaced items, such as a lost television remote. Use a brush to remove any dust or debris that has accumulated inside the cushions, making sure to brush it onto the ground for easy cleanup.
Once the internal cleaning is complete, give the cushions a good fluffing to restore their shape and comfort. Finally, return any items you found in the depths of the couch to their proper place and place the cushions back on the couch.
5. Dust and arrange the coffee tables, shelves, and electronic equipment

During a 15-minute cleaning session, the goal is not to achieve perfection but to make the living room look clean and organized. One crucial task is to tidy up the coffee table and ensure that its contents are arranged neatly.
Start by creating a simple cleaning solution of white vinegar and warm water, then use a microfiber cloth to wipe down the surface of the coffee table. This will effectively remove any dust and add a shine to the table's glass top if it has one.
In addition to the coffee table, take a moment to dust off any shelves and electronic equipment in the living room. This will help to create an overall clean and orderly appearance.
6. Organize the books, magazines, and newspapers
If you enjoy reading books, magazines, and newspapers in your living room, keeping these items organized and in their proper place is essential.
As part of your 15-minute living room cleaning routine, please take a moment to gather all of these reading materials and sort them out accordingly. Save time deciding which items to keep and which to discard. Organize them neatly and store them in their designated location.
7. Water your plants in the living room

Caring for your plants is important to maintaining a healthy living environment for yourself and your family. Please be sure to water your plants regularly and keep the area free of weeds and mold to ensure they continue to grow and keep it.
8. Vacuum the carpet and floor
When vacuuming your living room, focus on the carpet and floors rather than moving furniture or cleaning the sofa and pillows. By prioritizing the high-traffic areas of the room, you can quickly remove any dirt or debris that may have accumulated, leaving your living space looking and feeling fresh.
Living Room Cleaning Checklist: When to Clean Your Living Room
Keeping your living room tidy and clean is essential for creating a comfortable and welcoming space. You can easily maintain a clean living room with a little effort each day.
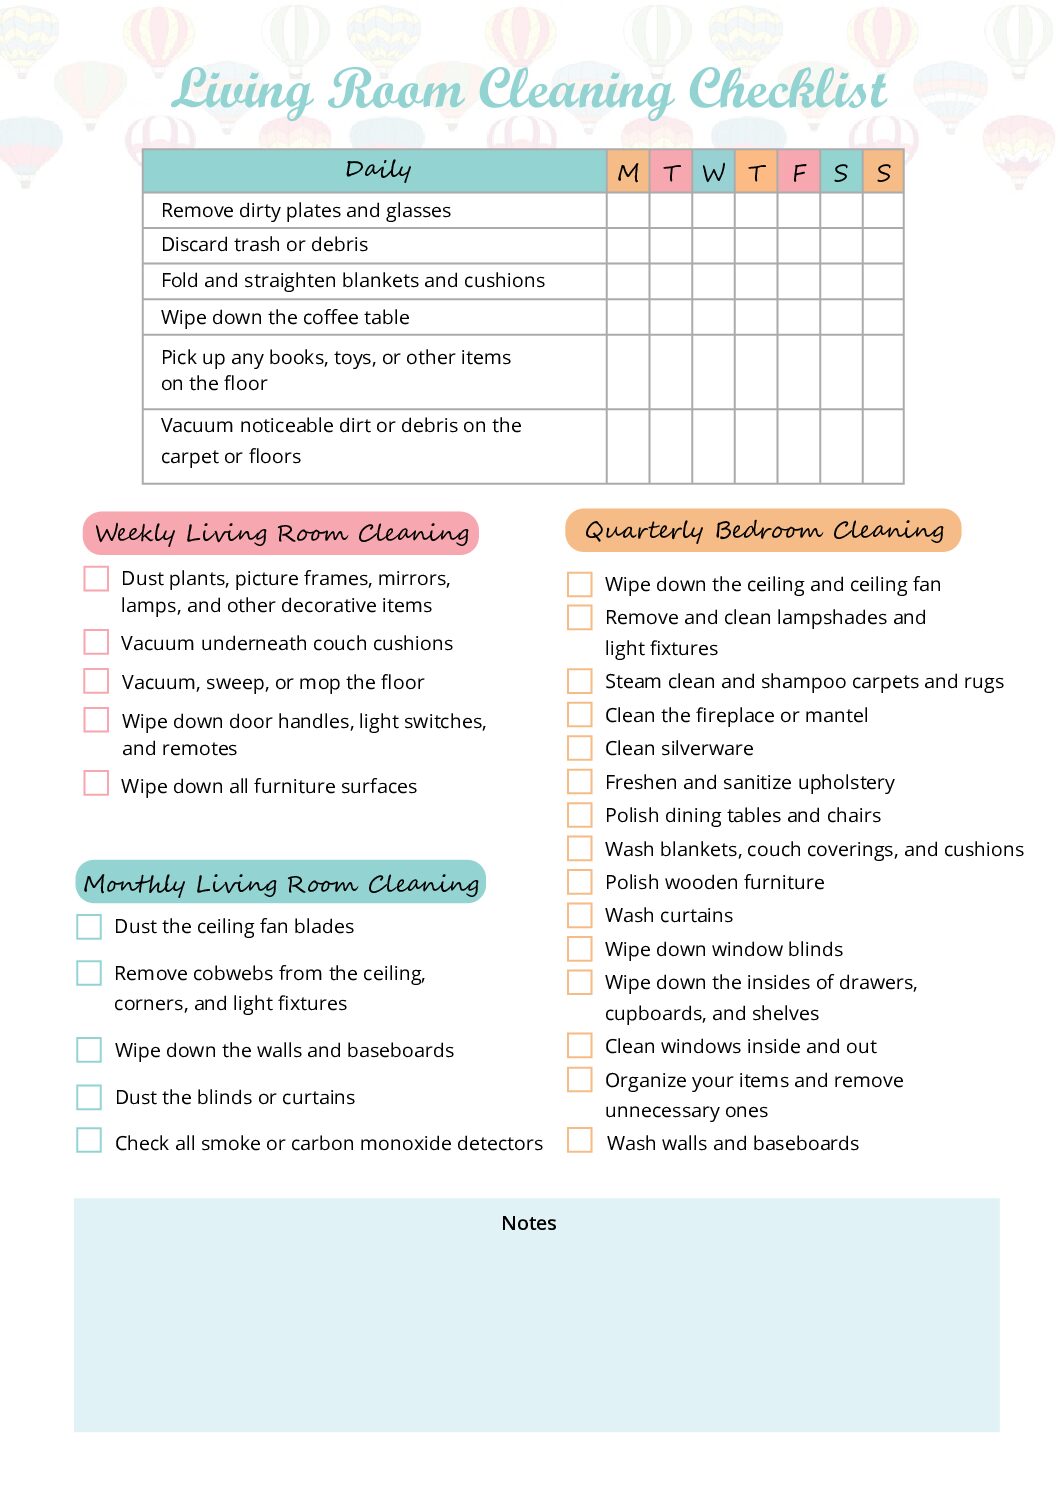
Here are some daily, weekly, monthly, and quarterly/seasonal cleaning tasks you can use as a checklist to keep your living room in shape.
Daily Living Room Cleaning Checklist

Maintaining a clean living room daily is essential to minimize the time required for weekly or monthly deep cleaning.
Following this daily living room cleaning checklist, you can easily accomplish these tasks in 5-10 minutes at the end of each day.
- Remove dirty plates and glasses from the living room to prevent bad smells and potential pest problems.
- Discard any trash or debris to keep the living room clean and organized.
- Fold and straighten any blankets and cushions to maintain a neat appearance.
- Wipe down the coffee table to remove any stains or dust and keep it shiny and presentable.
- Pick up any books, toys, or other items on the floor to prevent tripping hazards and create more space in the living room.
- Vacuum any noticeable dirt or debris on the carpet or floors to remove potential allergens and maintain a clean and healthy living environment.
Weekly Living Room Cleaning Checklist

In addition to daily cleaning tasks, giving your living room a deeper clean once a week is essential. You can add some tasks to your weekly living room cleaning checklist.
- Dust plants, picture frames, mirrors, lamps, windowsills, and other decorative items in the room. Use a microfiber cloth or a feather duster to remove dust and dirt gently.
- Vacuum underneath couch cushions to remove any crumbs, dust, or debris that may have accumulated there.
- Vacuum, sweep, or mop the floor, depending on the type of flooring in your living room. Pay attention to corners and edges, where dust and dirt gather.
- Wipe down door handles, light switches, and remotes with a disinfecting wipe or a cloth dampened with rubbing alcohol.
- Wipe down all furniture surfaces, including the coffee table, side tables, and any other surfaces where dust and dirt may have collected. Use a gentle cleaner and a soft cloth to avoid damaging the finish.
Monthly Living Room Cleaning Checklist

Monthly living room cleaning is essential to keep your living area clean and fresh. You can include some tasks in your monthly living room cleaning checklist.
- Dust the ceiling fan blades using a microfiber cloth or a duster. A clean fan helps improve indoor air quality.
- Use a long-handled duster or vacuum attachment to remove cobwebs from the ceiling, corners, and light fixtures. This will prevent dust and debris from accumulating in these areas.
- Wipe down the walls and baseboards using a damp cloth to remove dirt or smudges, making your living room look cleaner and brighter.
- Dust the blinds or curtains using a soft brush or vacuum attachment, preventing dust from accumulating on the fabric and improving air quality.
- Check all smoke or carbon monoxide detectors to ensure they are working properly. This is an essential safety check that should be done monthly.
Quarterly/Seasonal Living Room Checklist

Quarterly or seasonal deep cleaning of your living room is highly recommended during the spring and fall seasons. This will give your room a refreshed look while removing any deep-seated dust and dirt you might have overlooked during your regular cleaning routine.
Here's a checklist of things you can do during your semi-annual living room cleaning.
- Wipe down the ceiling and ceiling fan to remove any dust buildup.
- Remove and clean lampshades and light fixtures to get rid of any grime.
- Steam clean and shampoo carpets and rugs to remove dirt and stains.
- Clean the fireplace or mantel to eliminate any ash and soot buildup.
- Clean silverware to make them shine like new.
- Freshen and sanitize upholstery to get rid of any unpleasant odors and bacteria.
- Wash blankets, couch coverings, and cushions to remove stains and odors.
- Polish wooden furniture to restore its shine and protect them from wear and tear.
- Wash curtains to remove any dust and dirt buildup.
- Wipe down blinds to eliminate any dust and dirt.
- Wipe down the insides of drawers, cupboards, and shelves to remove any debris and grime.
- Clean windows inside and out to let more light in and improve your view.
- Reduce clutter by organizing your items and removing unnecessary ones.
- Wash walls and baseboards to remove any stains, scuff marks, or fingerprints.
Transform Your Living Space into a Spotless and Inviting Sanctuary

Congratulations! You've made it to the end of the Ultimate Guide to Clean Your Living Room Like a Pro. By following the tips and checklist provided, you can achieve a spotless and inviting living space that you'll be proud to show off to your friends and family.
Remember, cleaning your living room doesn't have to be a daunting task. With the right tools, mindset, and approach, you can transform your cluttered and messy space into a tidy, organized, and refreshing oasis. And the best part? You can do it all by yourself without spending a fortune.
So go ahead and put these tips into action today. Whether you're tackling a spring cleaning project or just looking to maintain your living room's cleanliness, this guide has got you covered. Happy cleaning!
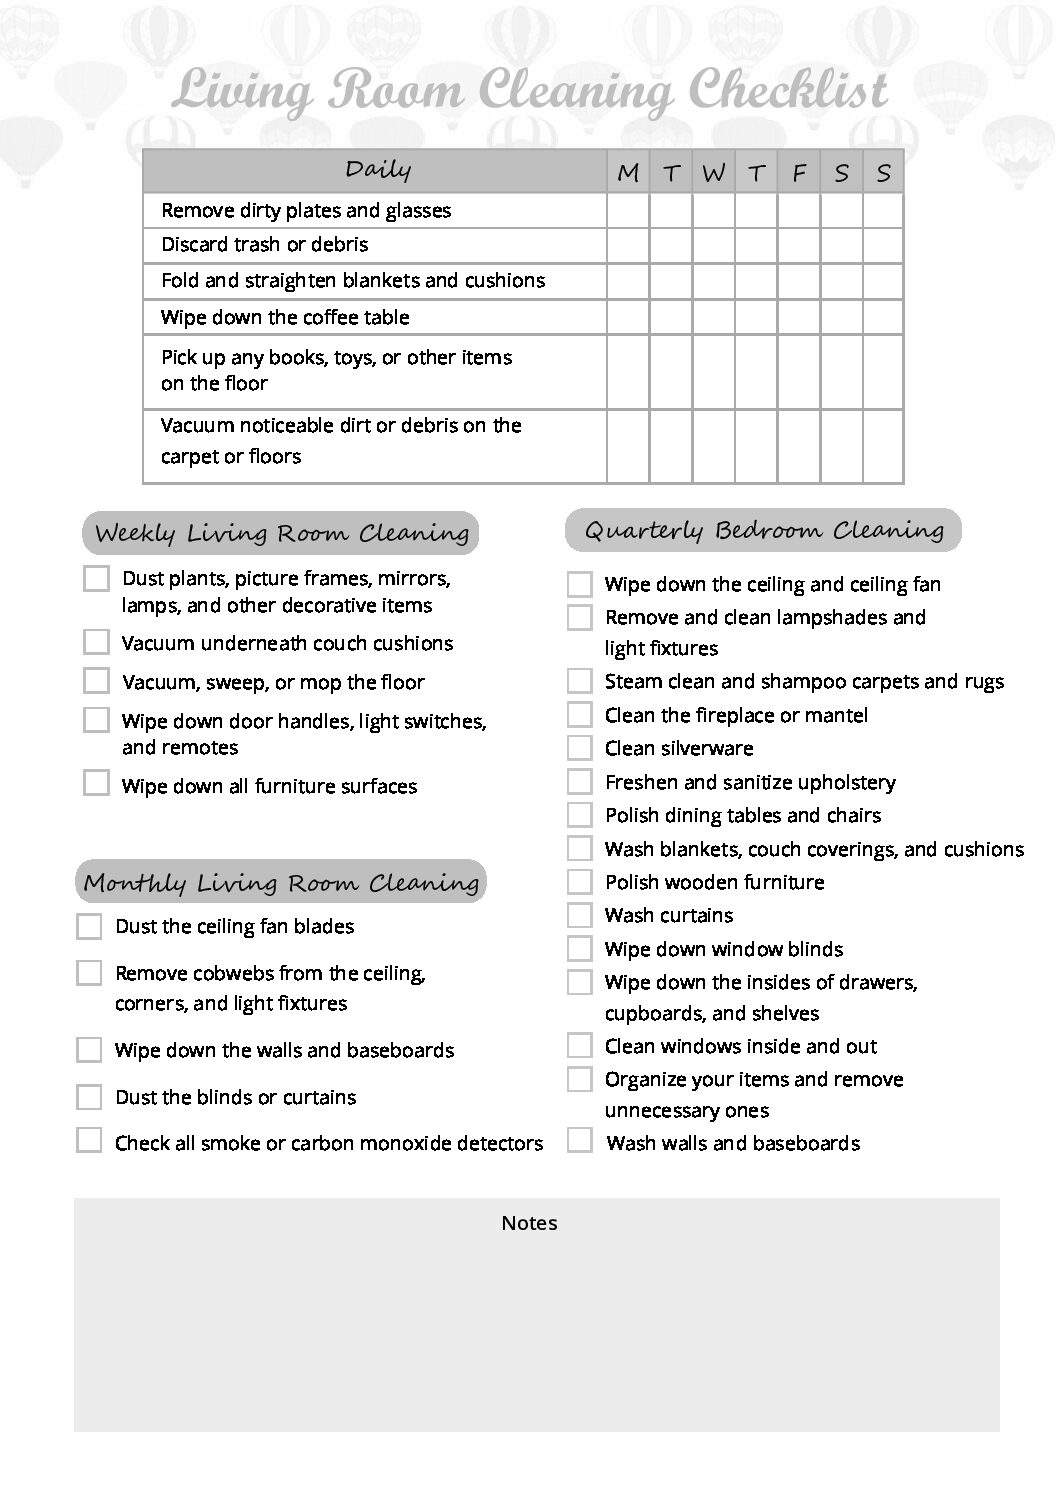
Free Printable Living Room Cleaning Checklist
With this printable guide, you'll have a step-by-step roadmap to follow, ensuring that you don't miss a spot and that your living room is always looking its best.
So, whether you're preparing for guests or simply want to enjoy a clutter-free home, our living room cleaning checklist is the perfect tool to help you get the job done quickly and efficiently.
