How to Clean a Percolator Coffee Pot: An Expert Guide to Keep Yours Sparkling Clean
Coffee is the lifeblood of many of us. It gets us through the day, and we can't start our morning without it. But if you've been using your coffee percolator for a while, you may notice that it could look sparkly cleaner than it used to be. But don't worry because a house cleaning service is here to help with our expert guide on how to clean a percolator coffee pot so that you'll never have to drink subpar coffee again.
Coffee lovers understand that a good cup of coffee is worth its weight in gold. It can be the difference between a good and bad day or a productive morning and an afternoon spent staring at your computer screen with no memory of what you were supposed to be working on.
So it's understandable when you want to keep your beloved coffee pot sparkling clean and not just because you're obsessed with aesthetics. You want your coffee to taste as good as possible.
But if you've ever tried cleaning a percolator coffee pot before, you know that it can be frustrating. That's why we're here today to help.
In this article, we'll talk about how to clean a percolator coffee pot. We've got all the info you need to keep your percolator looking and working the way it should.
What You'll Need
How To Clean A Stovetop Percolator With Soap And Water
1. Wash the body of the percolator
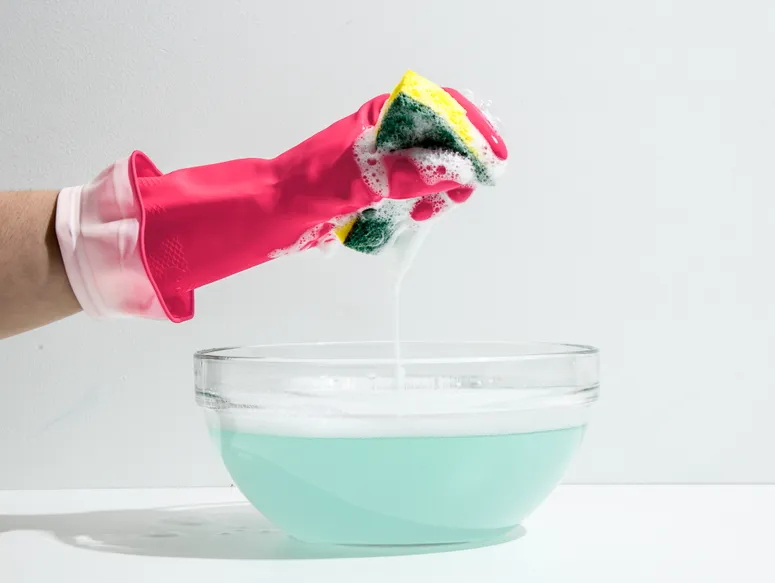
Clean the percolator's body with soap and water. If you just used your percolator, let it cool before placing it in the sink. After adding water and dish soap to the basin, use a sponge to clean the percolator. Rinse the stovetop percolator thoroughly until the water is crystal clean.
Before making your next brew, ensure your percolator has been thoroughly cleaned. If not, you might be sipping frothy coffee.
2. Wipe down the percolator basket
If the percolator basket is dirty, clean it. Since the basket tends to get filthy quickly, more scrubbing could be necessary. After cleaning it with a sponge and soapy water, rinse it.
Never use a scrub brush with harsh bristles because it might harm the delicate built-in filter. Always use a soft sponge.
3. Clean the stem and pump base
The bottom of the pump and the stem, also known as the perk tube, frequently become greasy, so cleaning the stem and pump base is essential. Give these areas special attention when you wash them with soapy water and then rinse them.
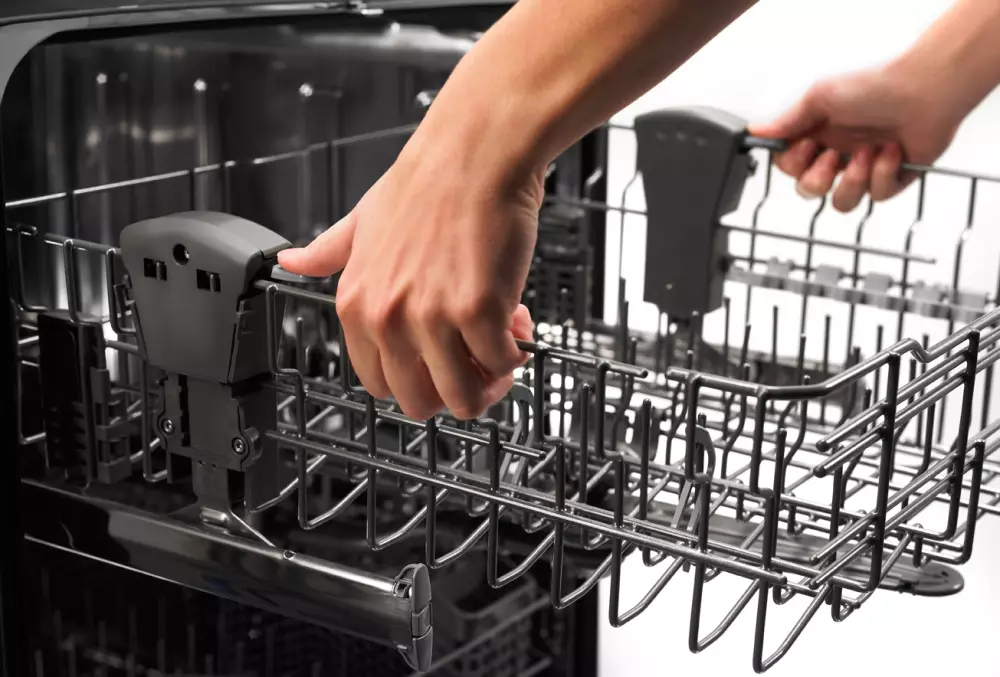
The majority of stovetop percolator pieces are dishwasher-washable. Place the parts in the top rack of the dishwasher for a deeper cleaning after checking your owner's manual to make sure they are safe to clean using the dishwasher.
4. Wipe the exterior of the percolator
Utilize a rag to wipe down the exterior of the percolator. Always use a clean, soft cloth or towel instead of an abrasive scouring pad to avoid damaging the percolator. Wipe off the percolator's exterior using a moist towel.
After cleaning the exterior, dry it with a clean cloth. Most percolators are constructed of stainless steel. Even if yours is made of glass or ceramic, you can still wipe it down with a moist towel.
How to Clean a Stovetop Percolator With Vinegar
1. Run a brewing cycle with vinegar and water
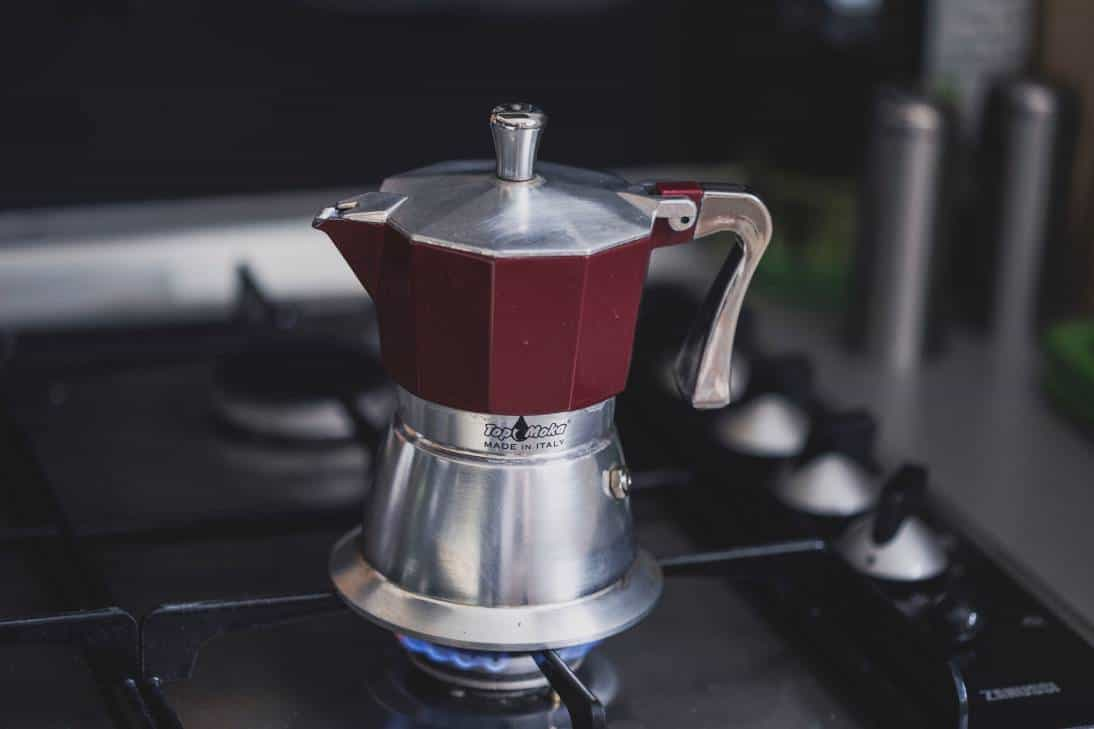
Run a cycle using a vinegar and water mixture. Vinegar is a quick-evaporating natural disinfectant that works wonders on difficult stains and won't taste or smell bad inside your percolator.
Half-load your stovetop percolator with clean water from the sink, and then fill it with white vinegar. Take the mixture out after brewing for the entire cycle.
2. Scrub the interior of the coffee maker
Use a scrub brush to clean the inside of your percolator. If you want a thorough clean, add a few drops of dish soap. Clean the percolator with soap and water before rinsing it.
3. Run a brewing cycle with fresh water
Rerun the brewing process with fresh water. Restart your percolator after adding water to it. After letting it go through its entire brewing cycle, let it cool down before emptying it.
To be sure that no white vinegar flavour is left in the pot for your subsequent brew, run a second cycle.
4. Wash the filter basket
The filter basket should be immersed in white vinegar. Remove your filter basket and place it in a basin with a 1:1 mixture of white vinegar and water if it still appears dirty.
After 30 minutes of soaking, remove the filter basket and give it a fresh water rinse.
How To Clean an Electric Percolator with Baking Soda And Vinegar
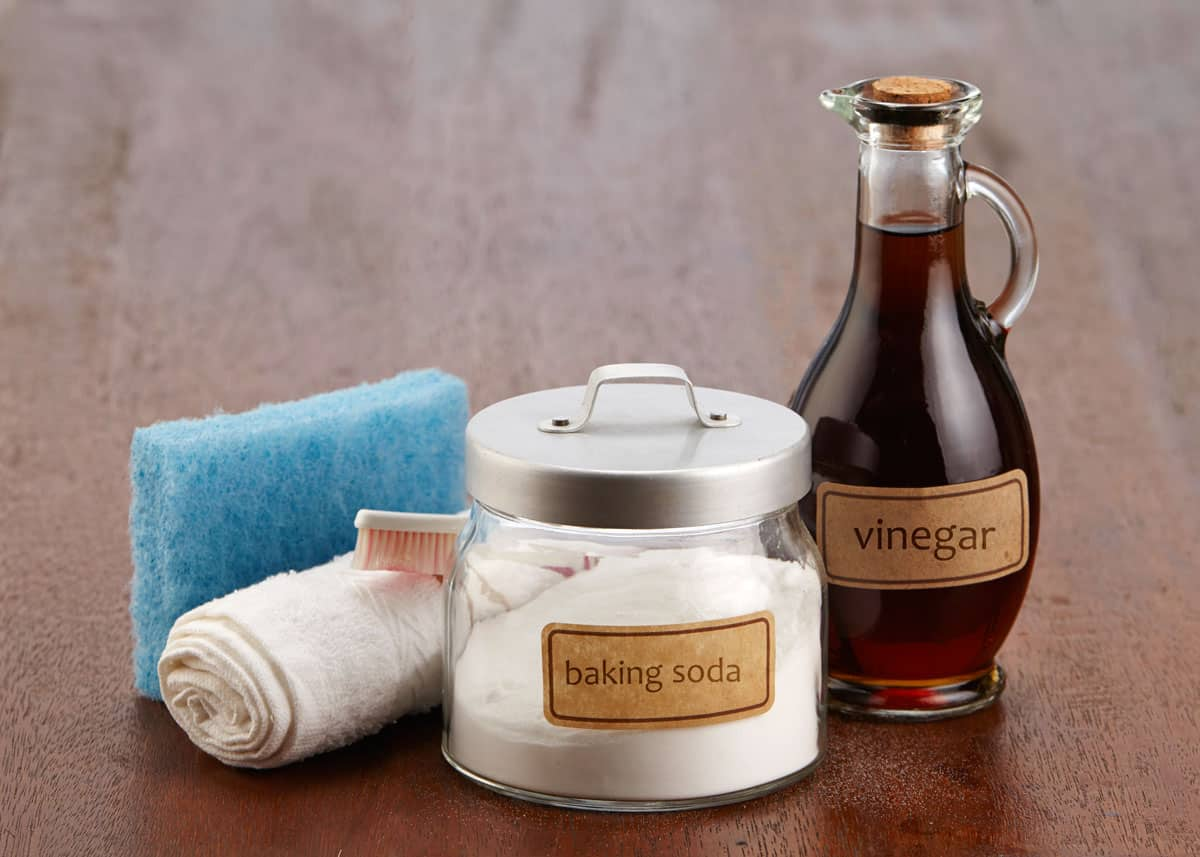
1. Fill the percolator with baking soda and water
Fill the coffee maker with warm water from the sink like when brewing your usual cup of coffee. After that, stir in 2 to 3 tablespoons of baking soda. Don't panic if you notice a slight fizzing up. It just proves that baking soda is effective.
Due to its moderate abrasiveness, baking soda works wonders to remove stubborn stains and marks from your coffee maker. Use the equivalent quantity of cream of tartar if you don't have any baking soda on hand.
2. Start the brewing cycle
Turn on the electric percolator and allow the machine to brew. The percolator will stir the water and baking soda mixture to provide a thorough cleaning. Wait for it to complete one cycle before moving on.
After the brewing cycle, let the water cool. When a percolator gets hot, handling it right away might be hazardous. Allow the electric percolator to cool down after the brew cycle or until the water is no longer boiling.
3. Remove the water and scrub the interior
Clean the interior of the coffee pot with a scrub brush after emptying it. Pour the water and baking soda mixture out of your electric percolator into the sink. Spray the inside of the pot with your faucet, then scrape the interior with a scrub brush to get rid of any stuck-on debris.
When you initially empty the electric percolator, don't be concerned if you see dirt and sludge flowing out. That signifies that the baking soda has completed its task.
4. Run a vinegar and water brewing cycle
Rerun the brewing cycle with one quart of vinegar and water solution. Natural disinfectant white vinegar helps remove stubborn stains and scars. After using only baking soda, if you don't like how your electric percolator looks, fill it up again with water and white vinegar.
Pour the contents out after letting it brew for the entire cycle. Scrub your electric percolator with a scrub brush if you can still see marks inside.
5. Run a freshwater brew cycle
Rerun the brew cycle, but this time, use fresh water. Restart your electric percolator after adding clean water to it. Brew it for three complete cycles, let it cool, and then empty.
Running a second cycle ensures no vinegar or baking soda flavour is left in the coffee pot for your subsequent brew.
6. Clean the filter basket
Given that it gathers the most coffee grounds, the filter basket usually becomes the dirtiest, so it is best to soak it in white vinegar to clean it. Take the filter basket out of the percolator and place it in a bowl or basin with equal parts of white vinegar and water if it still appears a bit worn.
After letting it sit for about 30 minutes, remove it, give it a thorough rinse, and then let it air dry. It is a fantastic method to employ if your filter basket has calcium or mineral deposits.

It's Time To Enjoy Your Cup Of Coffee!
Cleaning your percolator coffee pot is straightforward, but it's essential to do it right. Regularly cleaning your percolator coffee pot will help keep your coffee tasting fresh and delicious and prolong your coffee machine's life.
So there you have it, the ultimate guide to cleaning your percolator coffee pot. We hope this has been helpful to you, and we wish you the best of luck in keeping your coffee maker clean and sparkling for years to come.
It's time to enjoy a hot cup of coffee in the morning or after dinner, so get out there and clean that percolator.
You can also use our ultimate kitchen cleaning guide to ensure that your kitchen remains a safe place for food preparation and consumption and a space where you can relax and enjoy a meal with family and friends.
FAQs
How often should you clean a coffee percolator pot?
As with most things in life, there is no single answer, and it depends on how much you use it and what type of coffee maker you have.
If you are using your coffee percolator regularly and want to get the most out of your beans, then it's essential to keep your machine clean and well-maintained. It would be best if you tried to clean your percolator after every use so that any residue from previous brews doesn't build up on the walls or bottom of your coffee pot over time.
Why do you need to clean your coffee percolator pot?
Cleaning a coffee percolator is essential for several reasons. If you don't clean your coffee pot regularly, you could have an unpleasant taste in your coffee.
Additionally, if you don't clean your percolator correctly, there's a chance that the residue will build up and cause corrosion to occur on the inside of the pot.
How do you stop your coffee from burning in a coffee percolator pot?
Just know when to take it off the stove to prevent your coffee from burning in your coffee percolator pot. But if you'd instead not burn your coffee, check your heat settings. If they're too high, your coffee will burn faster than it should or even scorch.
You might also have an issue with the grind size. If it's too fine or too coarse, this can affect how long it takes to brew correctly.
Also, choose the right amount of water for your percolator pot. If there's too much water, it won't heat up properly and could cause the coffee to burn. But if there's too little water, the grounds will boil before they have time to brew correctly. So make sure you read your instructions carefully.
